This story is part of a content partnership and media exchange between Neocha and VSCO. VSCO’s membership program is designed to help you reach your creative potential. Take the next step in your creative journey by starting your free 7-day trial today and gain access to the complete VSCO preset library, the newest editing tools, and inspiring educational content.
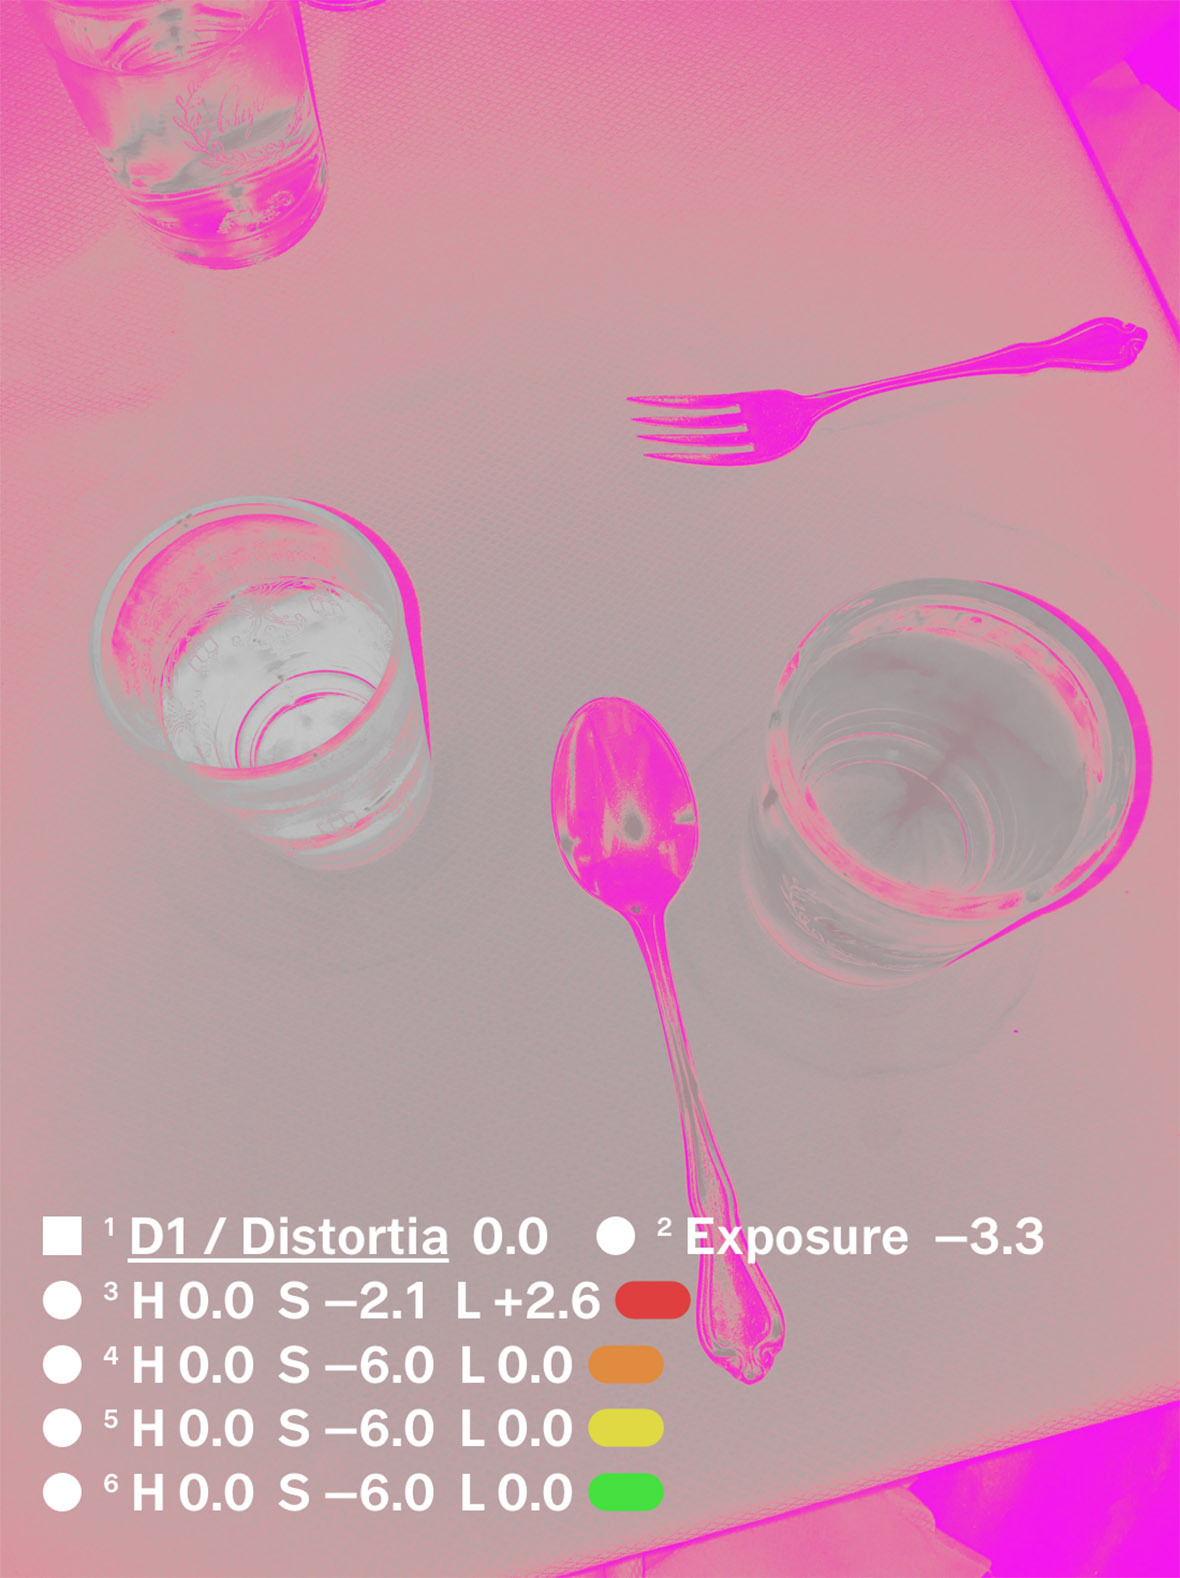
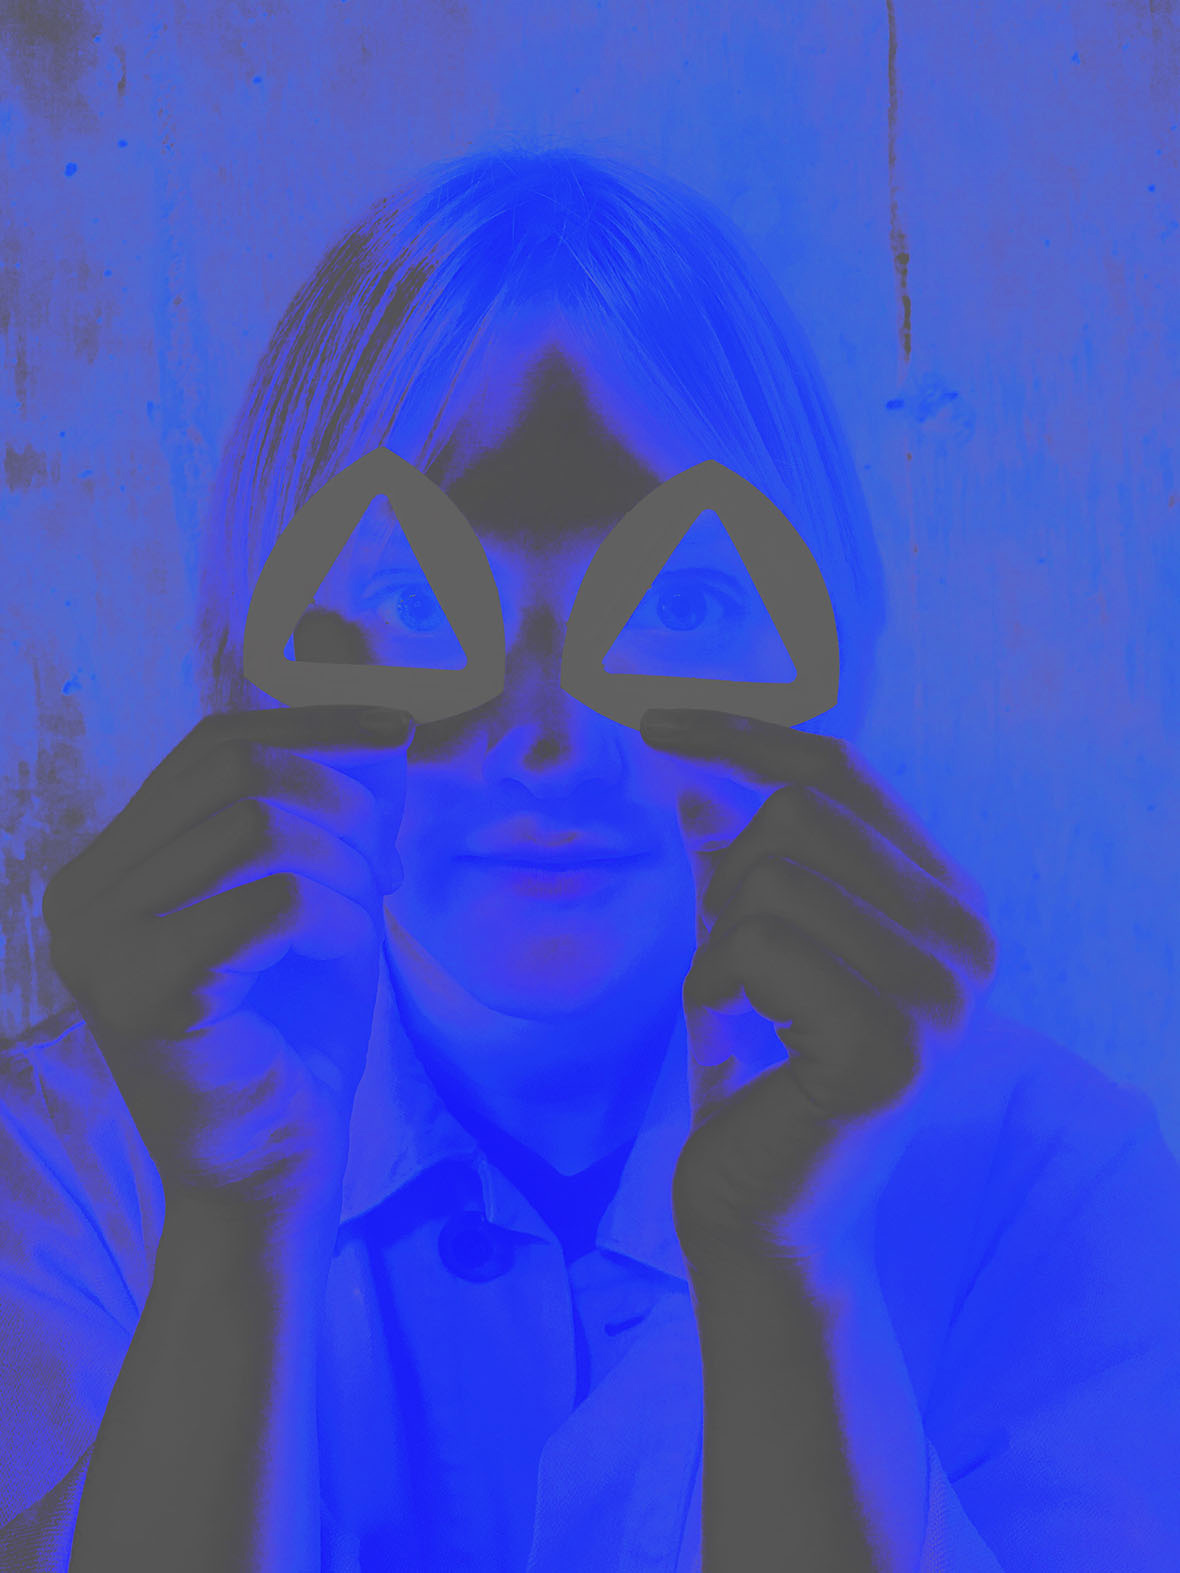
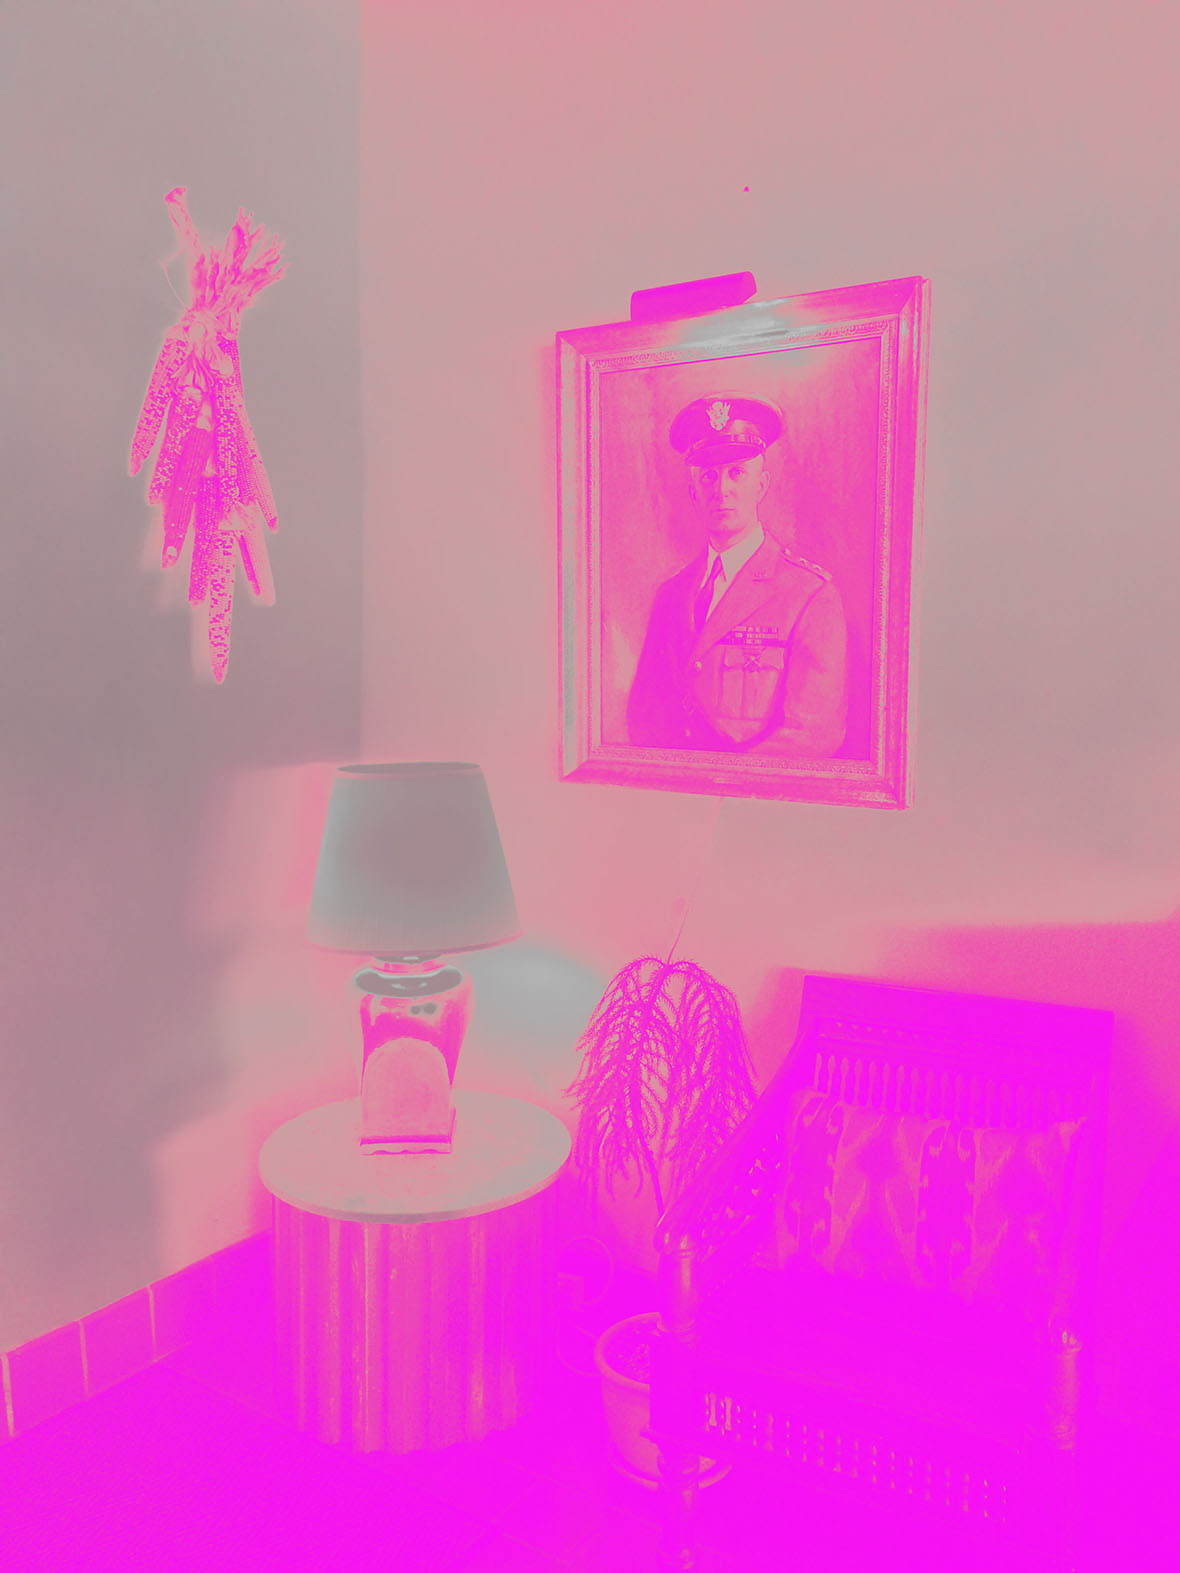
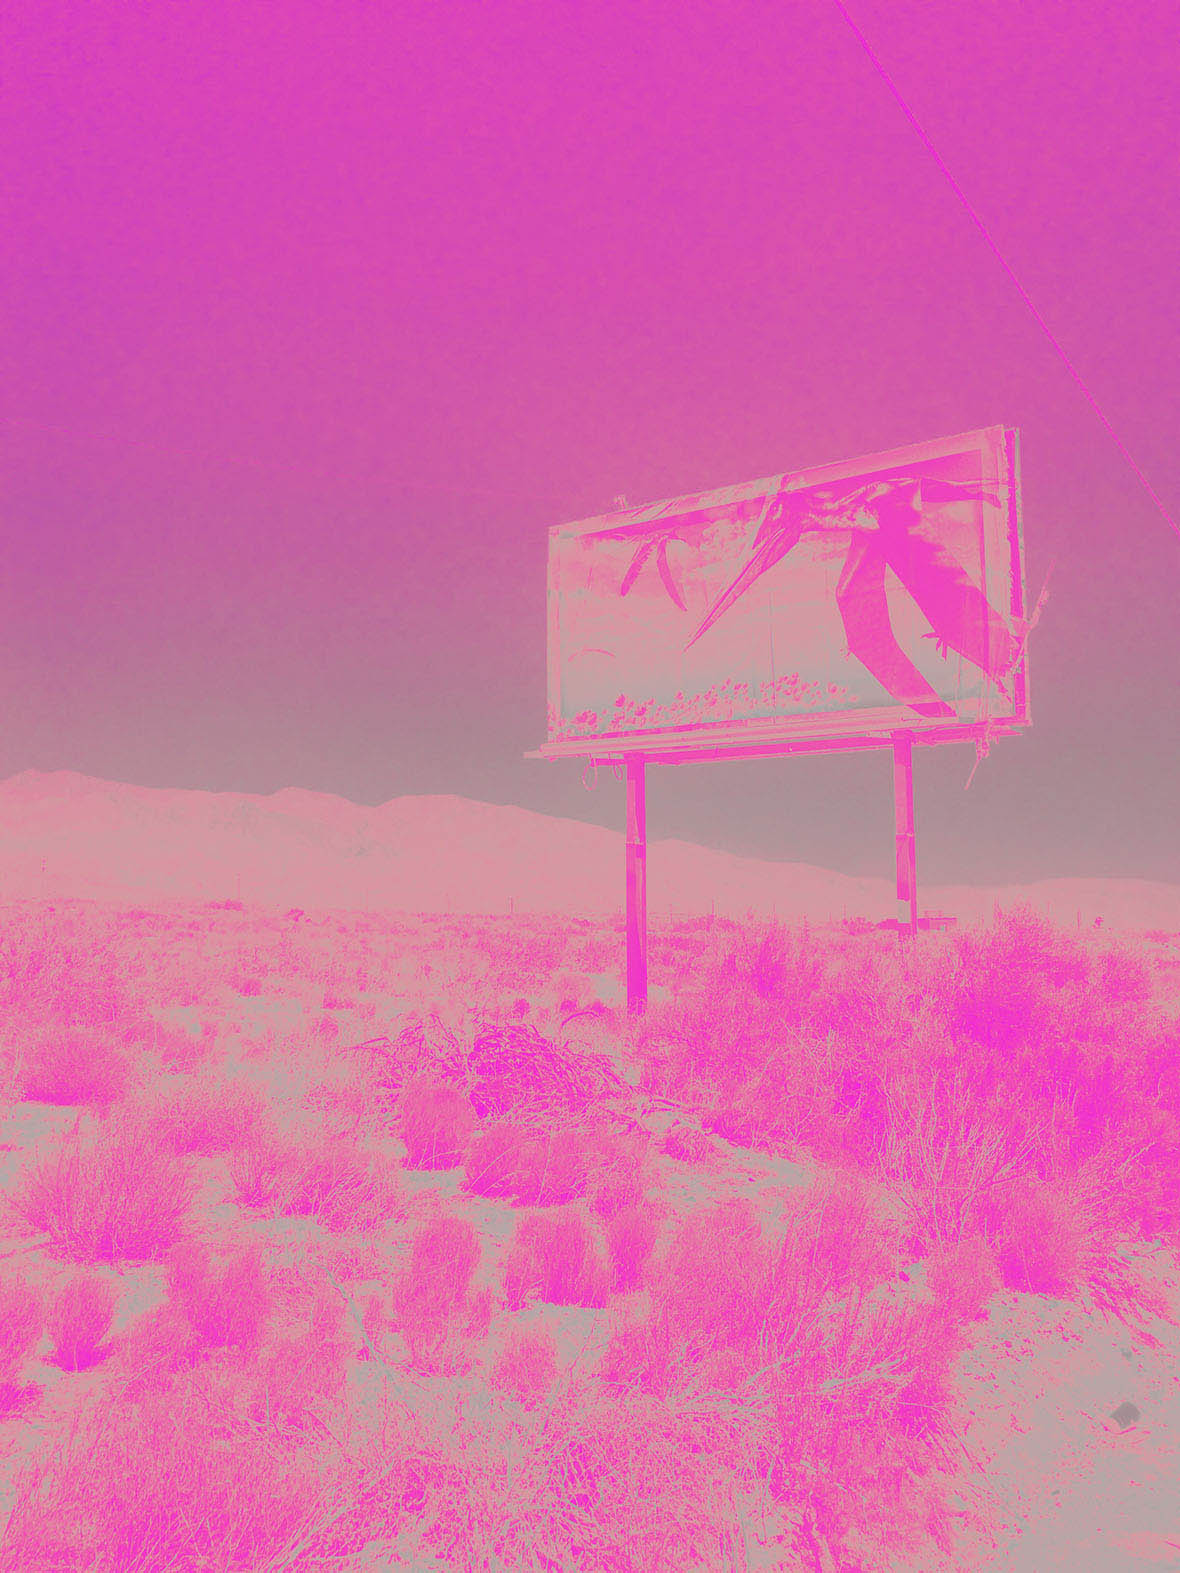
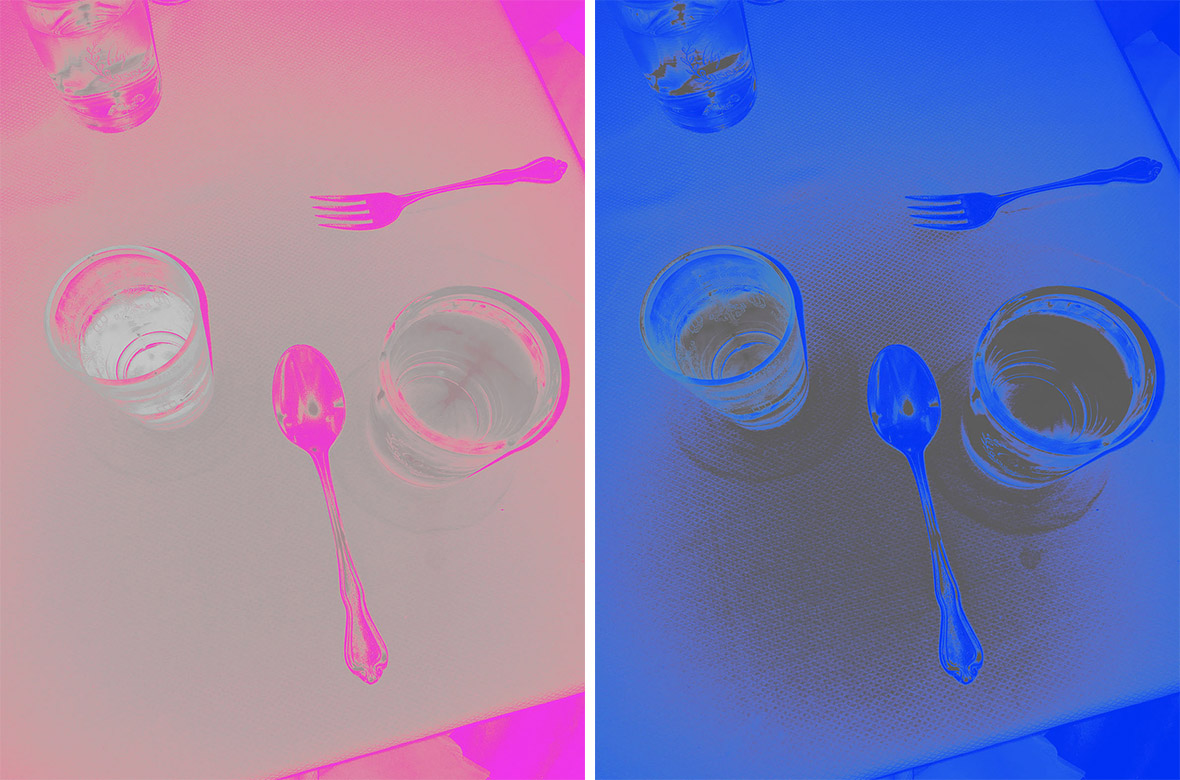
The HSL tool—which controls hue, saturation, and luminosity—is suited for subtle, yet transformative changes to your images, but it also offers a chance to get a little wild. By experimenting with HSL, you can create completely new looks. Using the D1 preset as the base for both recipes, we created two monochromatic edits in pink and blue. Reminiscent of Pop art, these recipes give ordinary images a more graphic feel. Try these two recipes to get a feel for the control HSL gives you over specific colors, and then start creating your own unique looks!
本篇文章来自新茶媒体合作伙伴 VSCO 的内容交换。VSCO 是一个专门帮助摄影爱好者发挥创造潜力的会员项目。现在就开启你的 7 天免费试用,获取完整的预设滤镜,以及新的编辑工具、视频编辑和教程内容。
HSL 工具——可调节色度、饱和度和亮度——适合于微妙的、且对图片有转变型效果的改变,但它也给人提供了狂野一把的机会。使用 HSL 工具,你可以给图片打造全新的外观。在 D1 滤镜的基础上,我们修出了粉色和蓝色两张单色照片。这些效果让人想到波普艺术,让普通的图片有了拥有更强的图像感。快来尝试给你量身定做的两个滤镜与 HSL 功能,并创建你自己独特的照片。
D1 — Blue Recipe 蓝色调
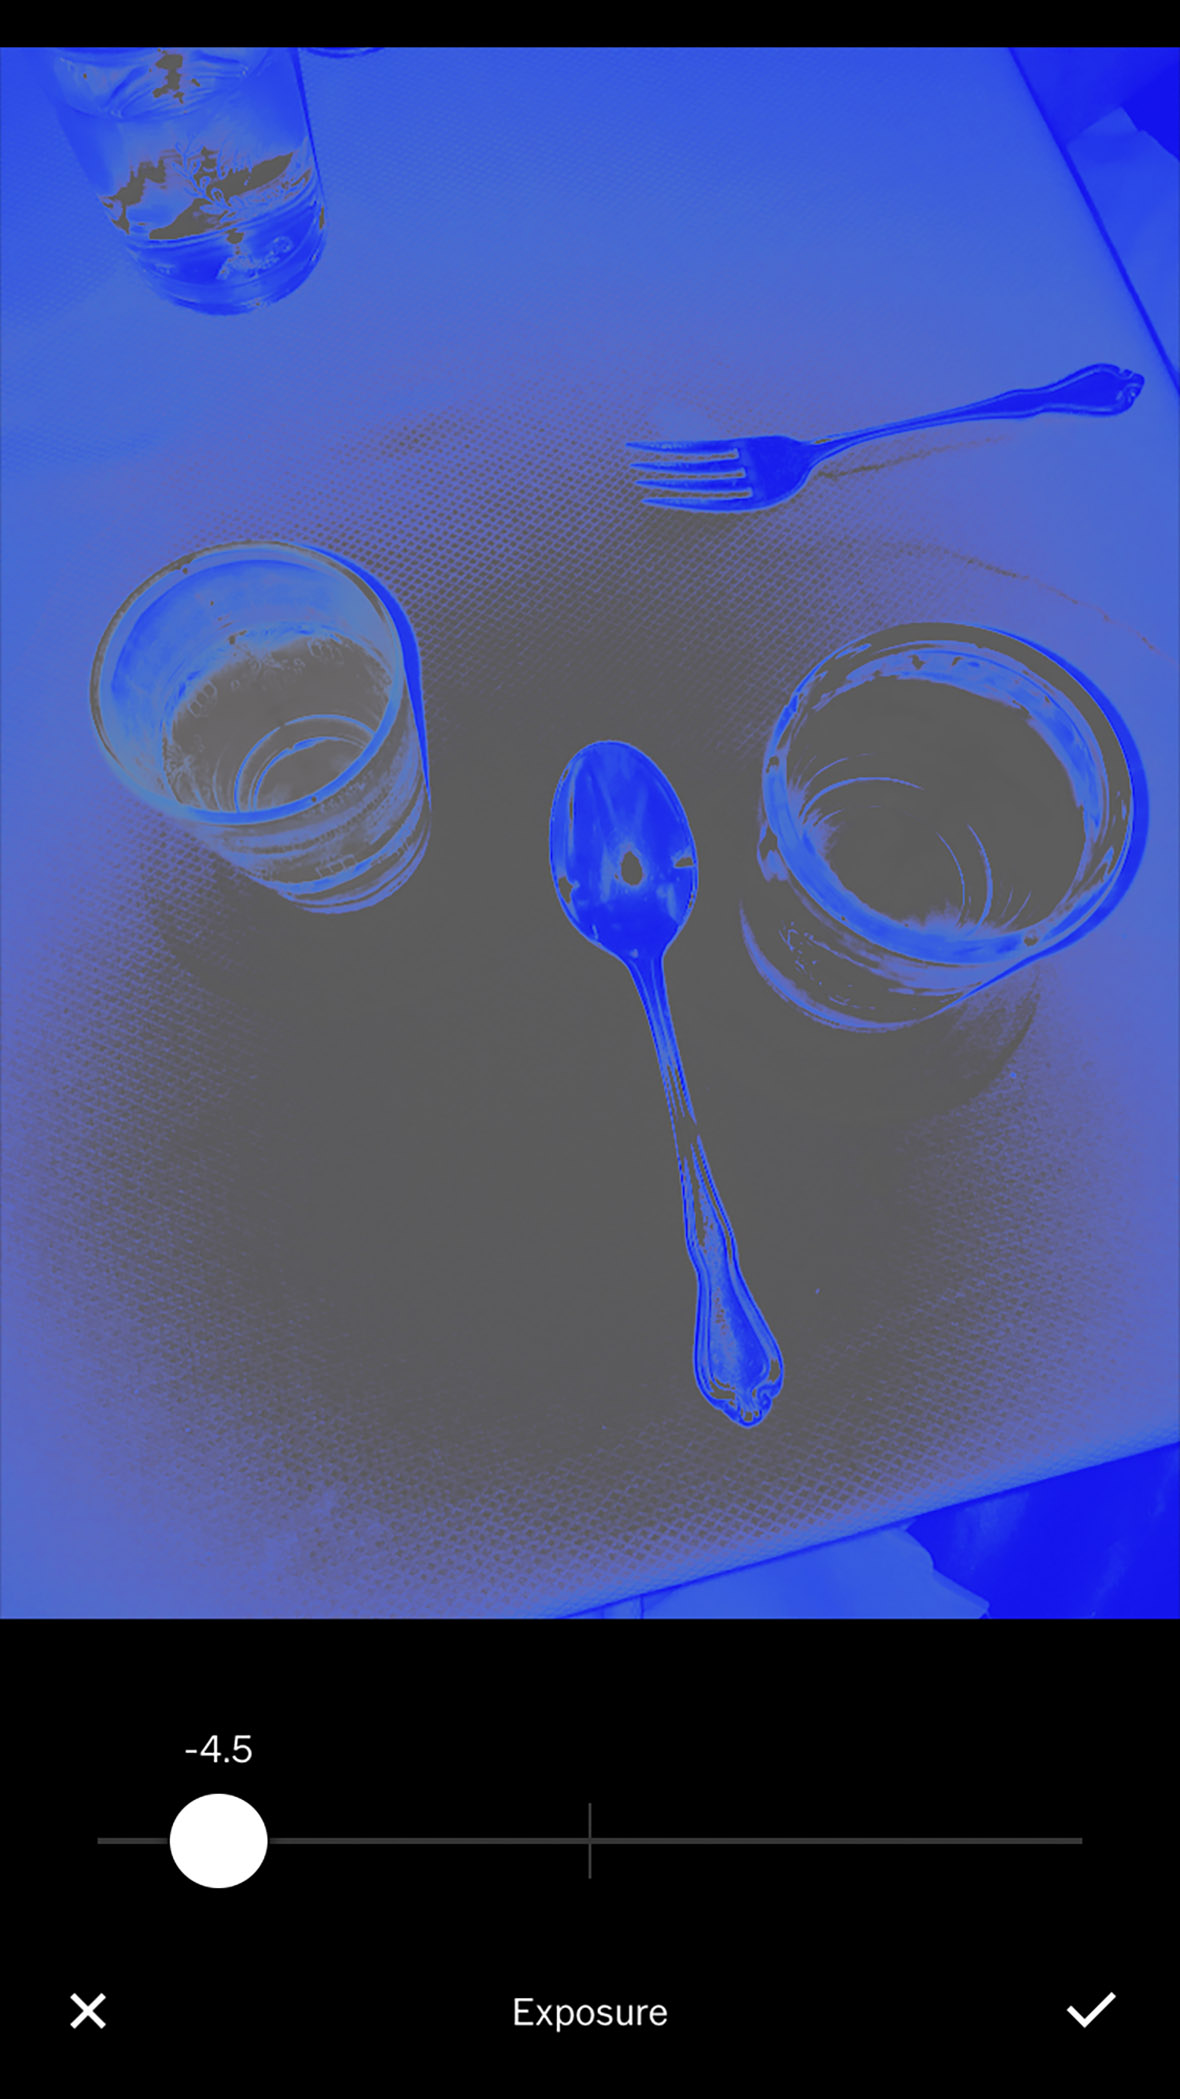
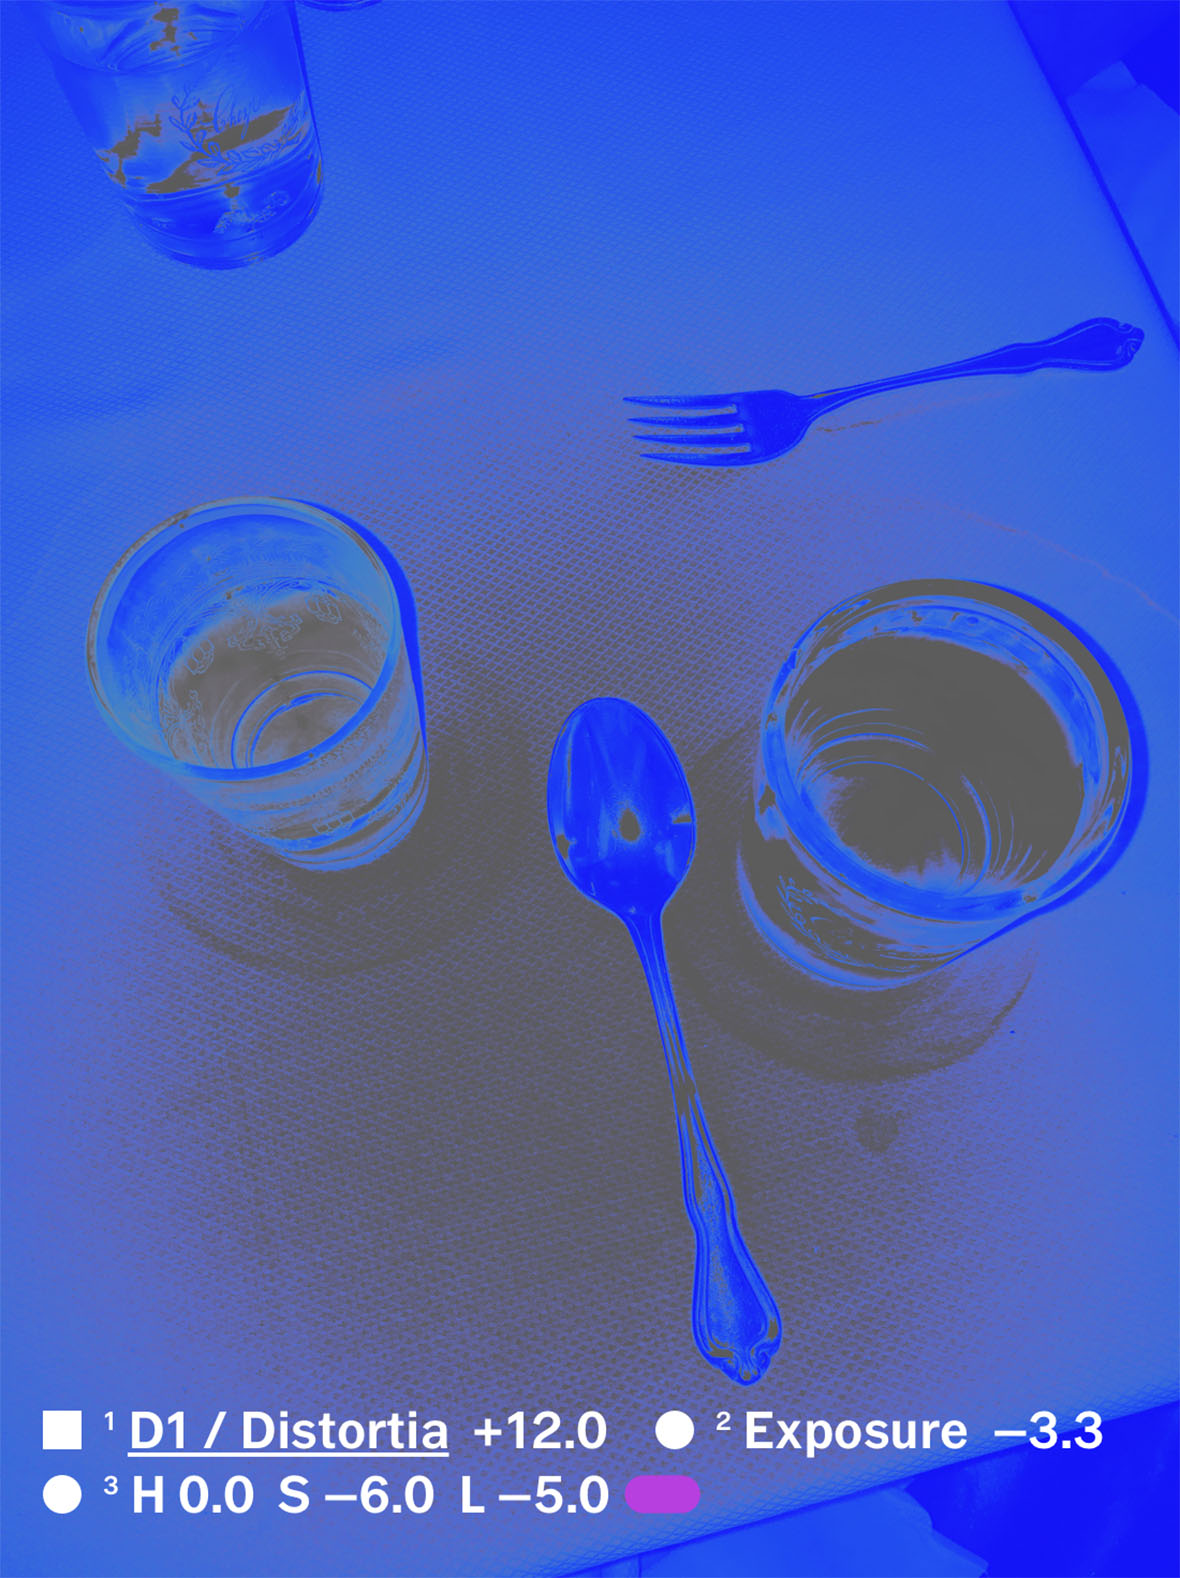
In the following step-by-step tutorial, see how this photo of a table setting transforms. After creating these edits on your own image, try saving them as a recipe for future use. As a VSCO member, you can save up to 10 recipes.
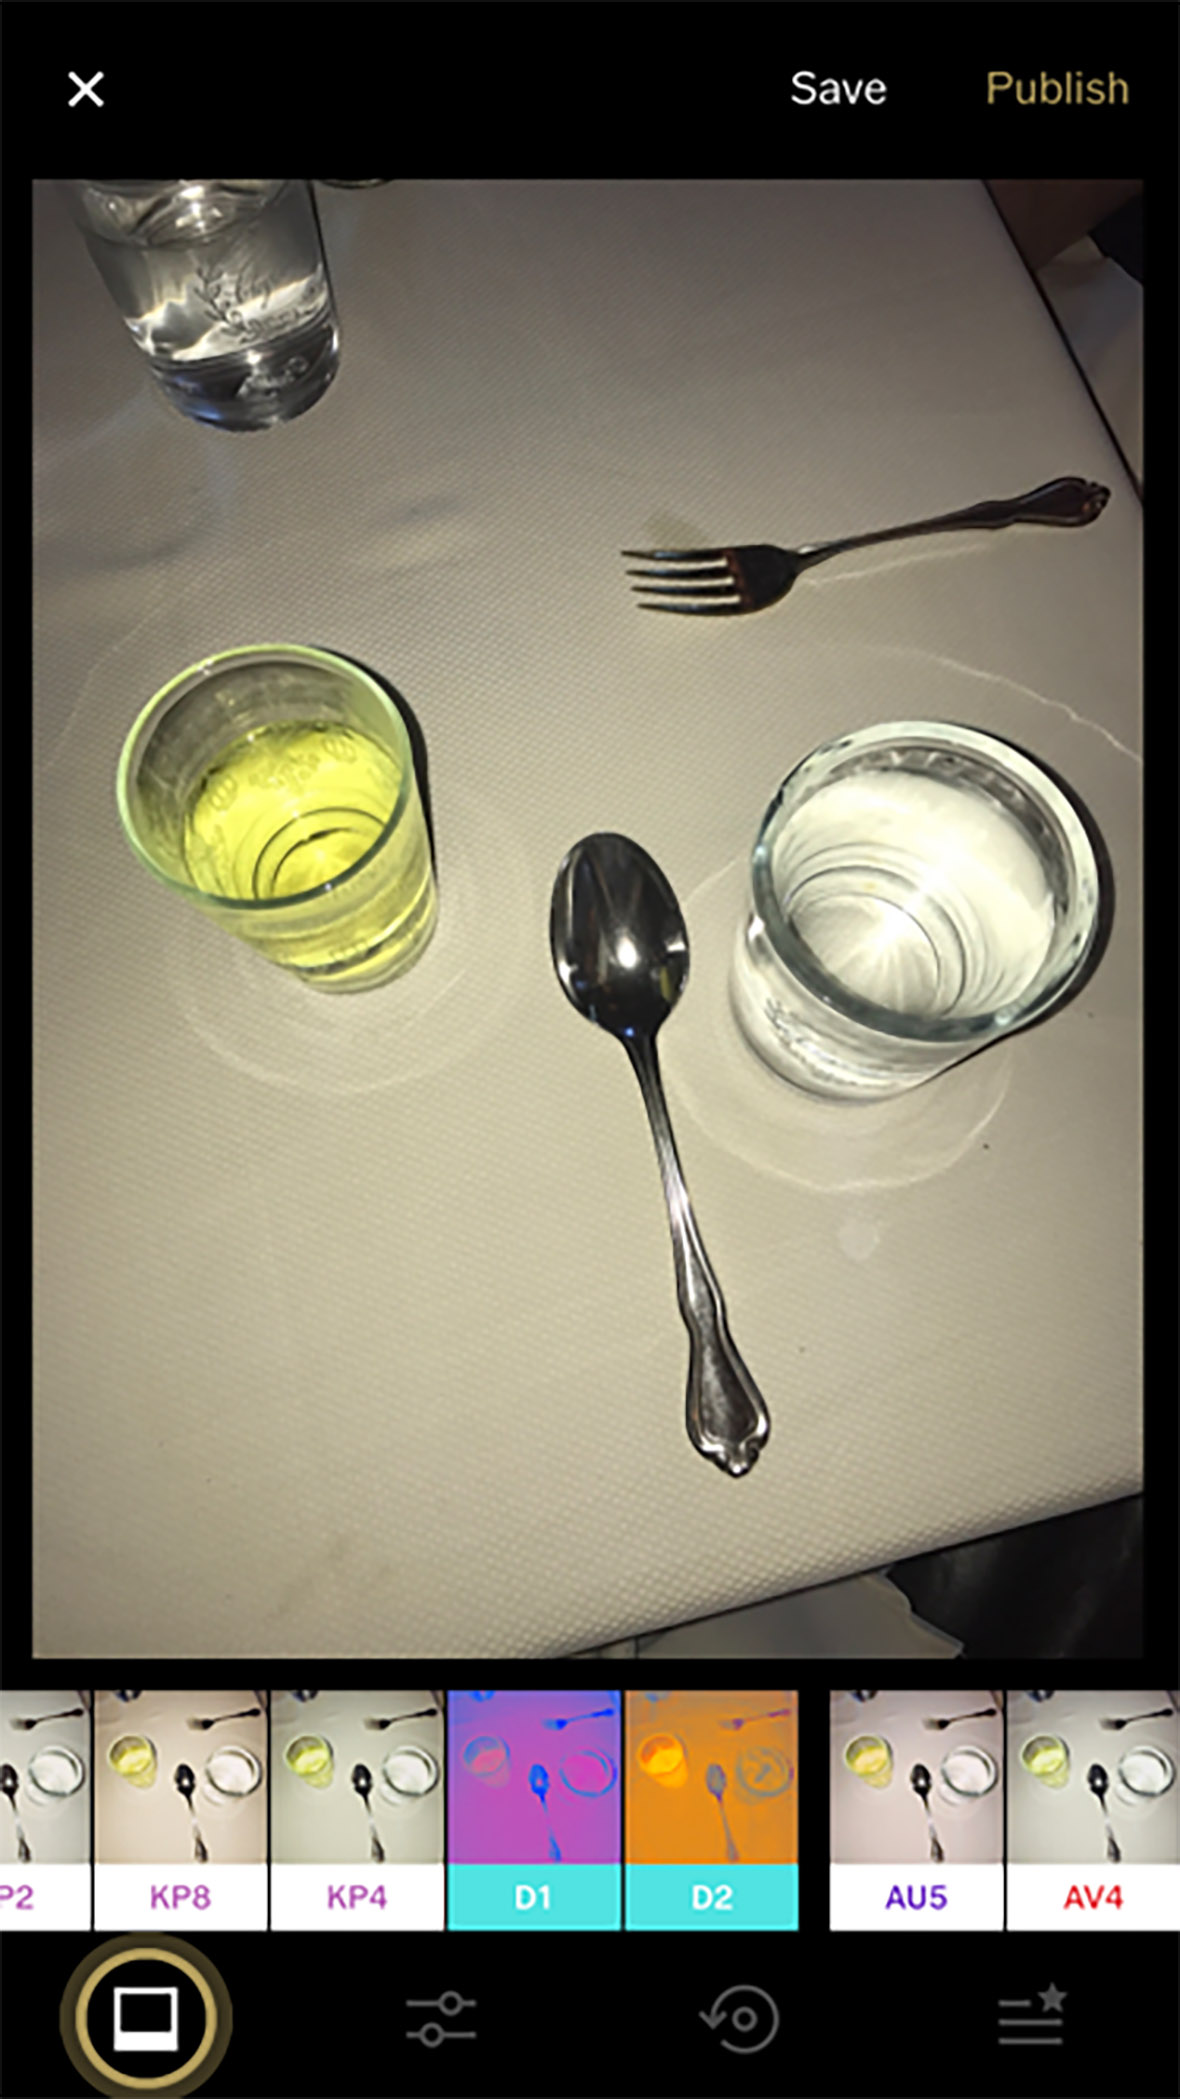
Step 1 — Select an image in your Studio and tap the Preset icon. Apply the D1 preset at full strength (+12). This will limit the tones to solely pinks and blues.
在下面的分步教程中,你将看到这照片是如何转变成最终效果的。在你的照片上尝试这些编辑,并且把它们保存下来,以便将来使用。如若是 VSCO 会员,你可以保存多达 10 个编辑。
步骤 1 — 在你的工作室界面中选择一张图片并点击滤镜预设的图标。应用全强度(+12)的 D1 预设,就会呈现蓝色与粉色的图片。
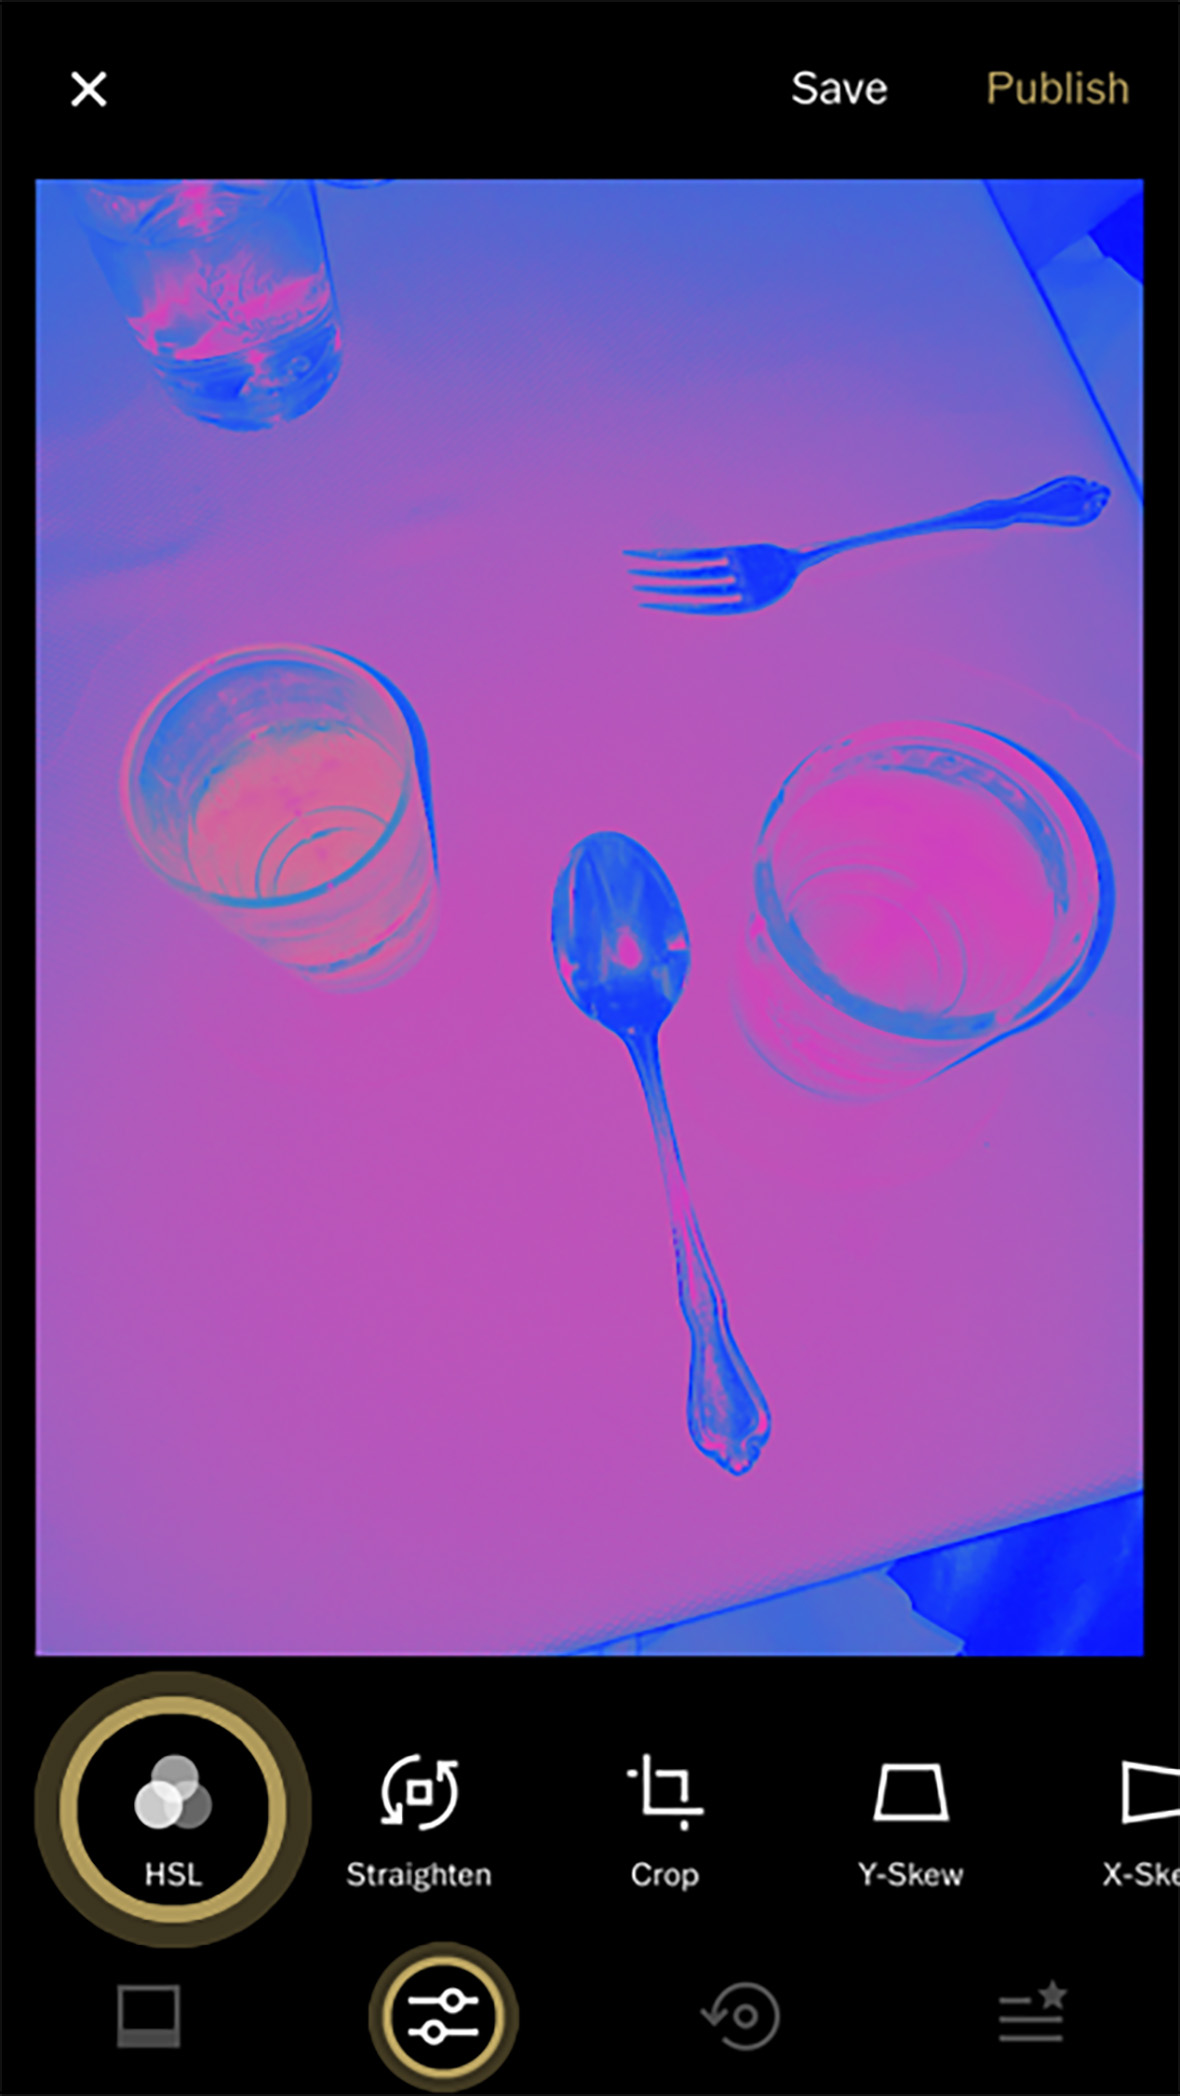
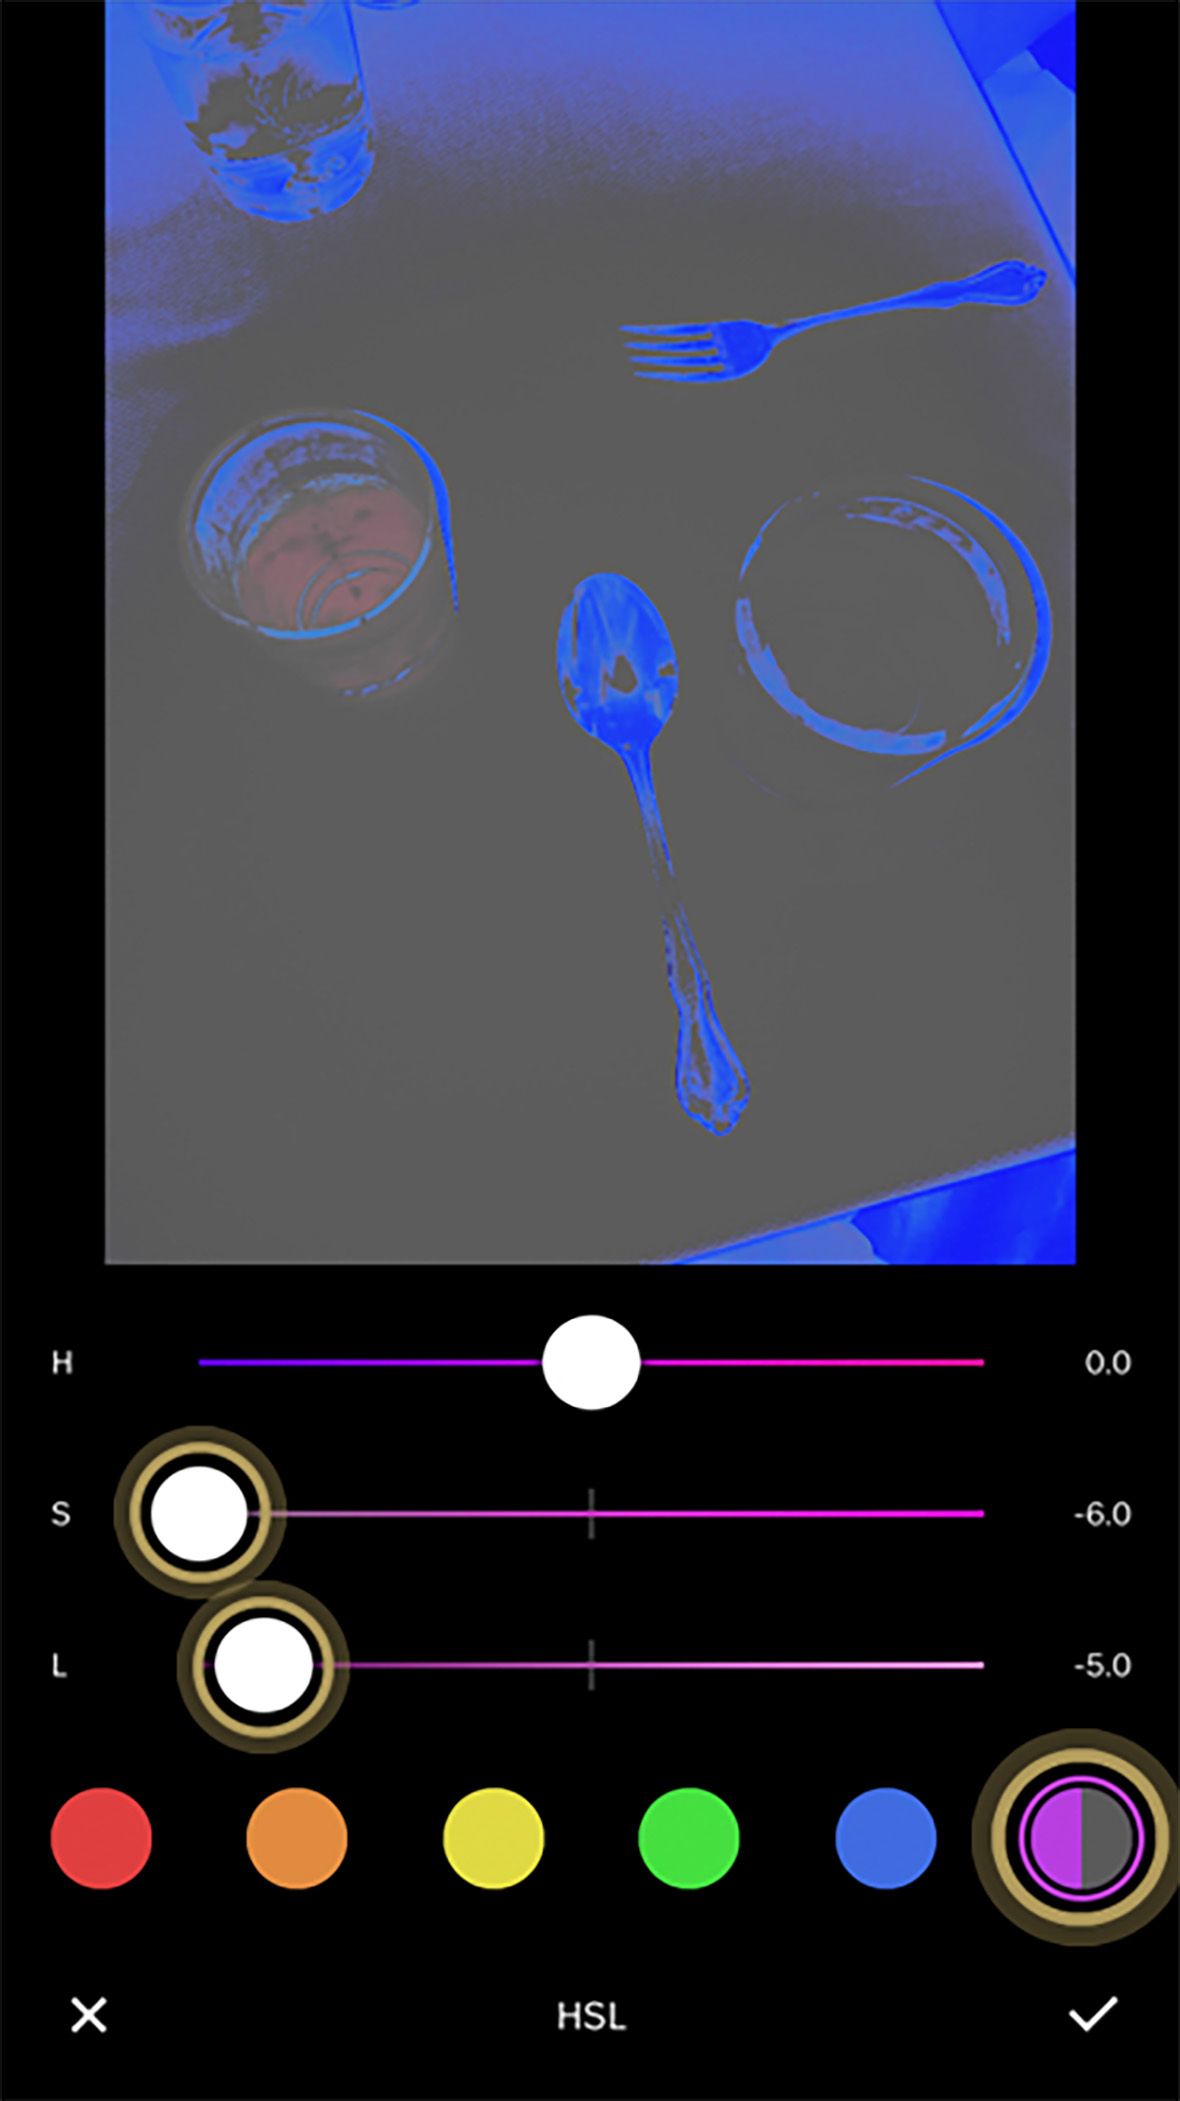
Step 2 — Select HSL from your toolkit. Tap the purple circle and slide the Saturation (S) fully to the left at -6.0 and the Luminance (L) to -5.0. Now your image bears similarities to a cyanotype, a photographic printing process that produces blue pictures.
步骤 2 — 从工具箱中选择 HSL。点击紫色圆圈并将饱和度(S)完全滑到 -6.0,亮度(L)到 -5.0。现在,你的图像会类似蓝图晒印法,一种产生青色图片的冲印过程。
Step 3 — To bring back some of the details that have been lost, select the Exposure tool and lower exposure to -4.5.
*The necessary exposure per image can vary, so you may need to play with moving the slider back and forth to find the right exposure for your image.
步骤 3 — 如果要恢复一些已经丢失的细节,可选择曝光工具,降低曝光到 -4.5。
*每张图片所需的曝光量会有所不同,所以你可能需要前后移动滑块来找到正确的曝光。
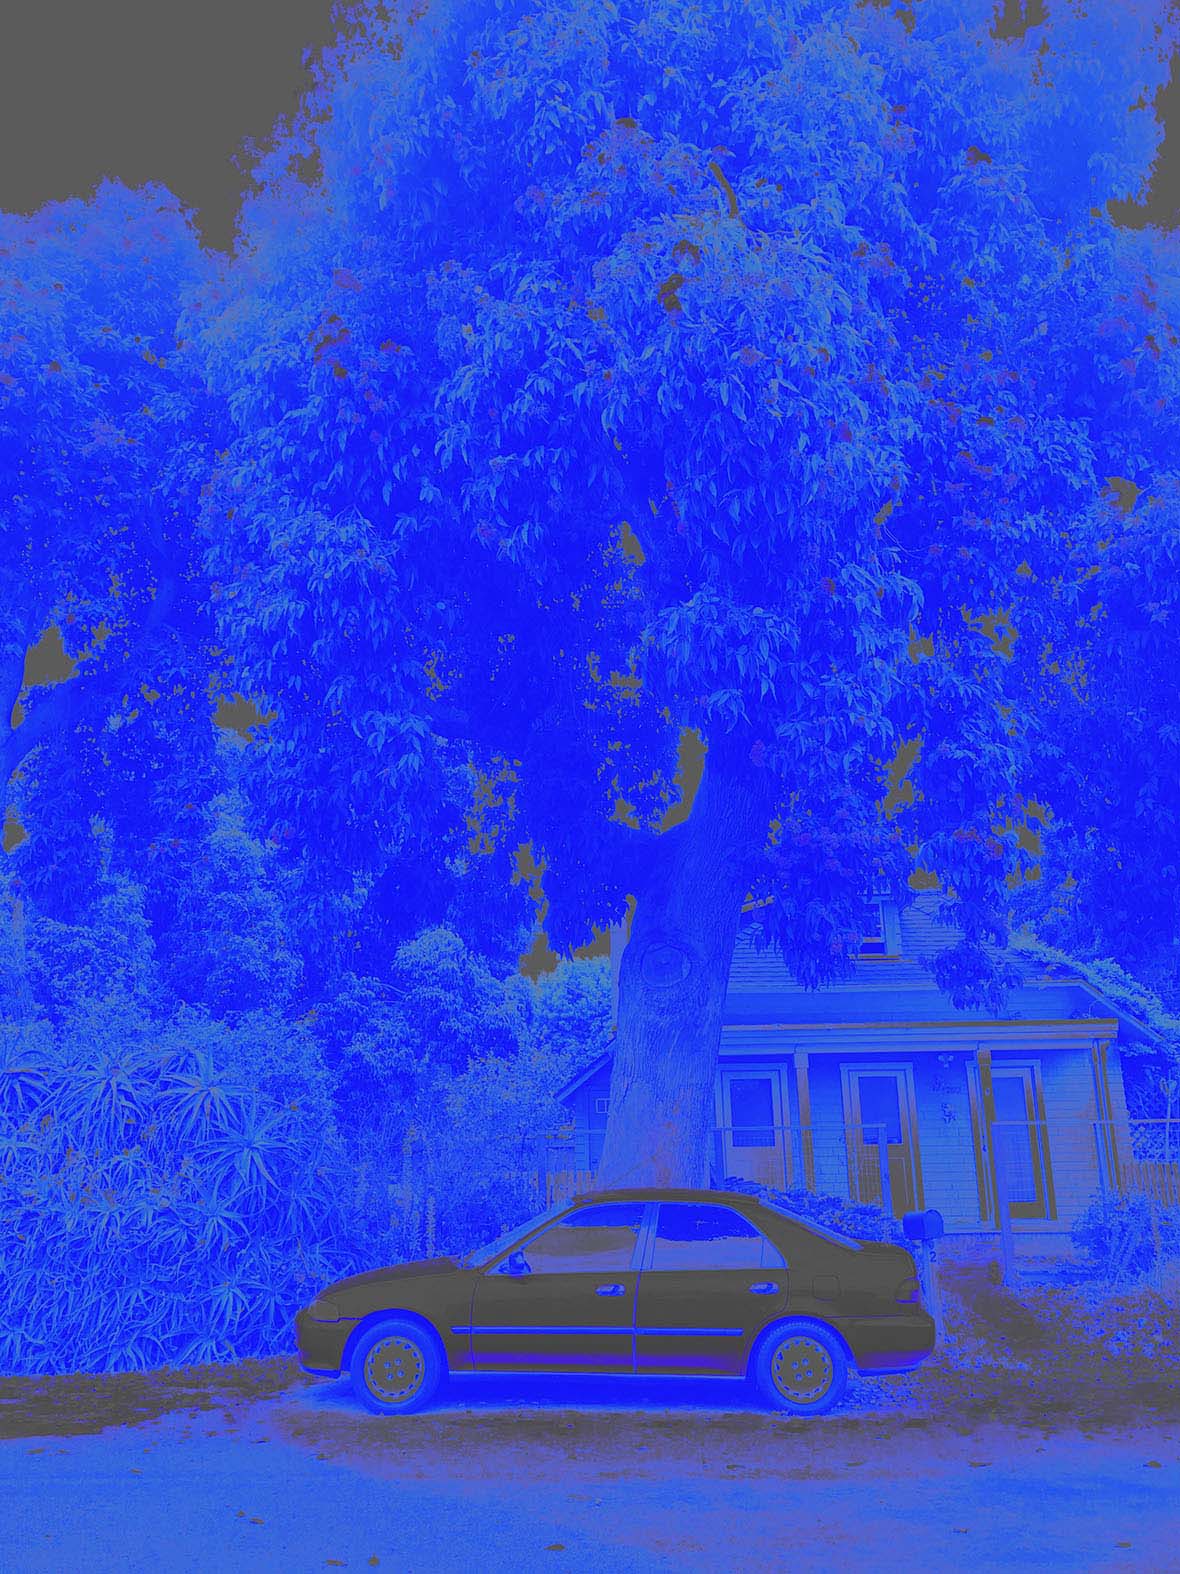
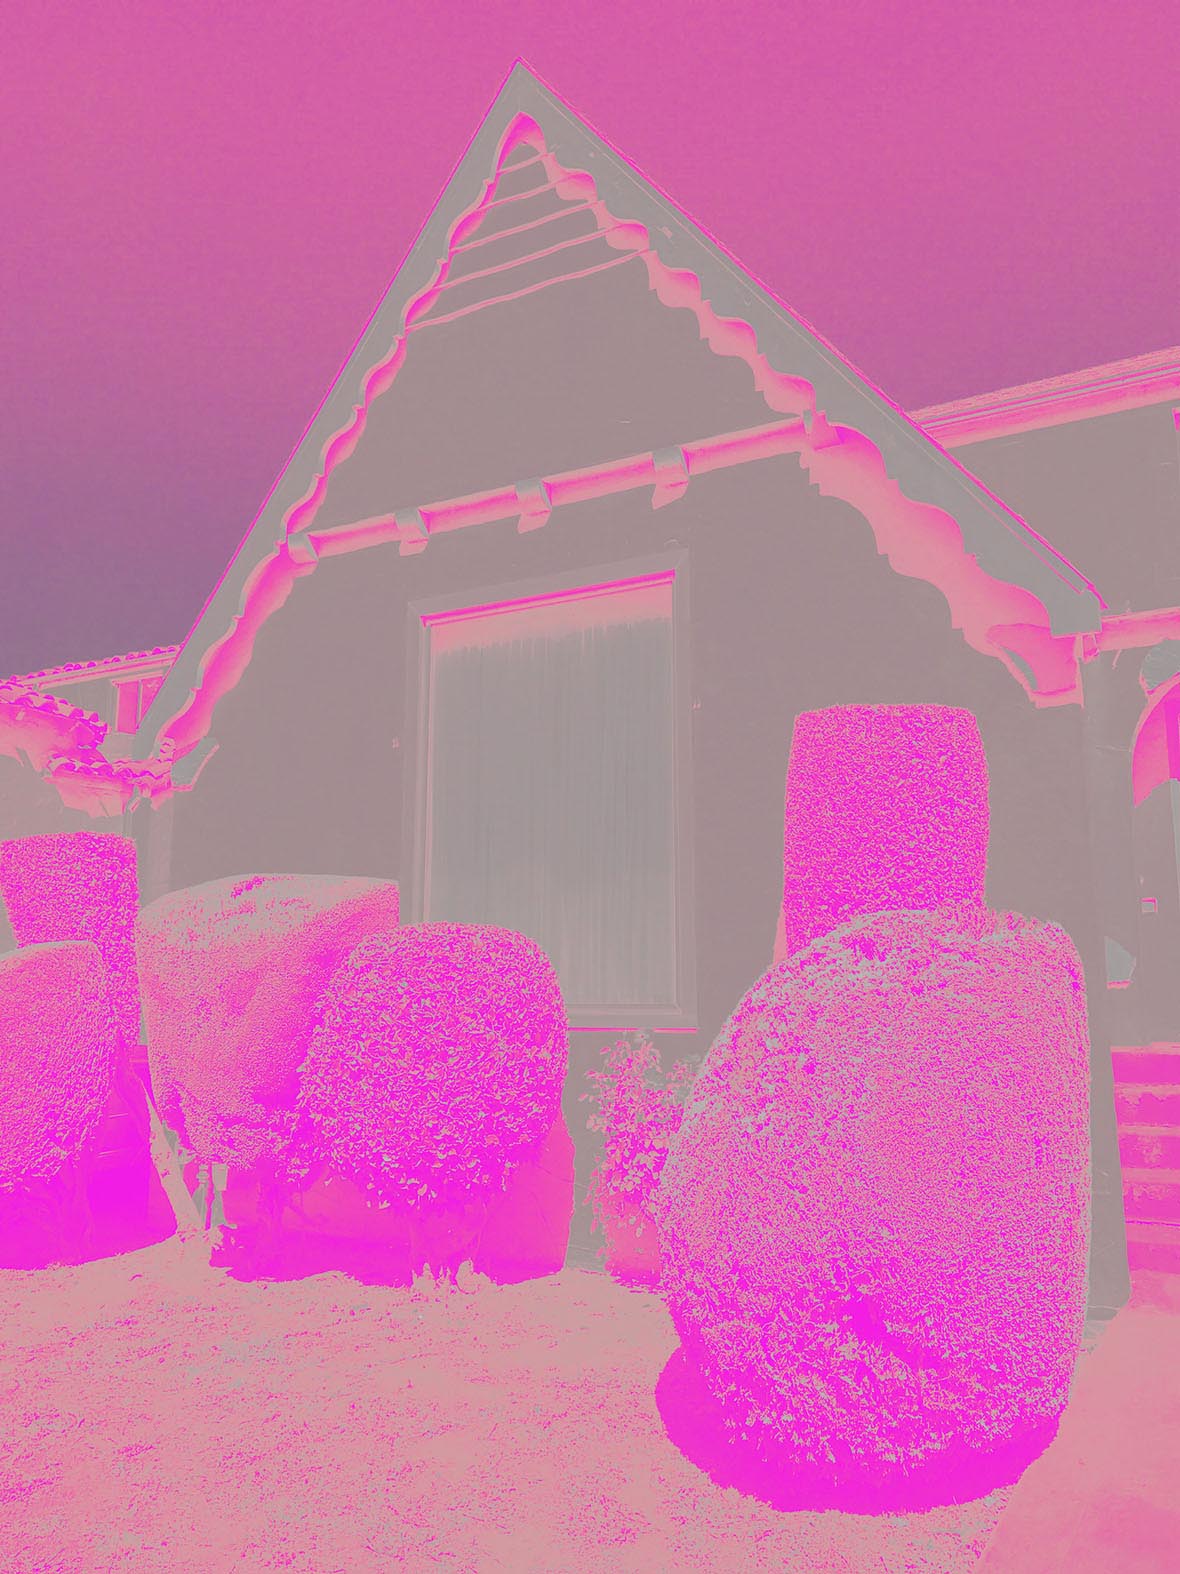
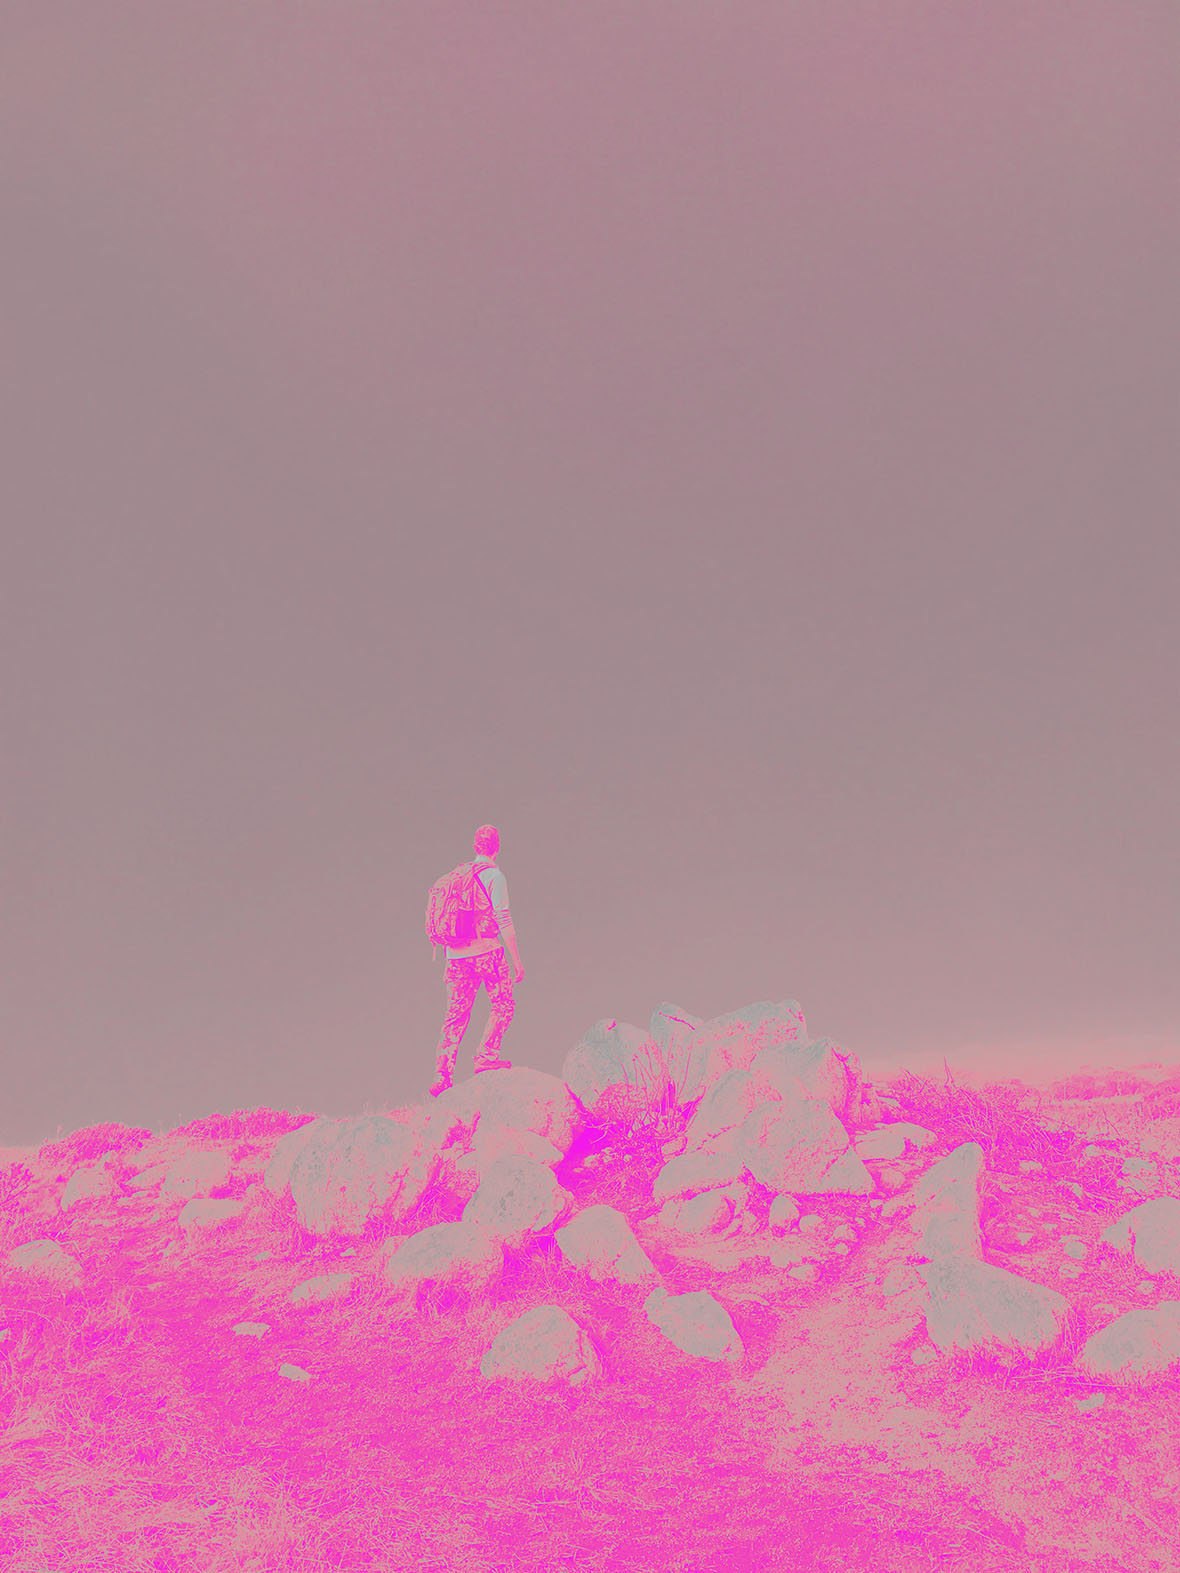
D1 — Pink Recipe 粉色调
Complementary to the blue monochromatic look, try this recipe to achieve a bold, neon pink aesthetic.
粉色调以扩充仅有的蓝色选项,你可以试试以下的设定,来调出鲜艳霓虹粉的效果。
