This story is part of a content partnership and media exchange between Neocha and VSCO. Their membership program, VSCO X, is designed to help you reach your creative potential. Take the next step in your creative journey by starting your free 7-day VSCO X trial today and gain access to the complete VSCO preset library, the newest editing tools, and inspiring educational content.
There is something magical about movie stills and the feelings they evoke. Whether it’s the color grading, the wide cinematic crop, or the effect of 24 frames per second whizzing by, all of these factors create something truly unique. In this tutorial, we will look at ways of creating a cinematic look in your photographs and find inspiration from the community.
本篇文章来自新茶媒体合作伙伴 VSCO 的内容交换。VSCO X 是一个专门帮助摄影爱好者发挥创造潜力的会员项目。现在就开启你的 7 天免费 VSCO X 试用创意之旅,即可获得的 130+ 预设滤镜,以及新的编辑工具、视频编辑和教程内容。
单单一个定格的电影画面就能牵动你的情绪和感受,这种力量是很神奇的。无论是因为调色、较宽的比例、或是每秒 24 帧画面飞逝所产生的视觉效果,以上种种因素都能让一幅照片充满独特的电影感。跟着以下小提示,就近在你的周遭找到灵感,并拍摄出电影感十足的作品。

Edit with Grain & Contrast / 編輯颗粒和对比度
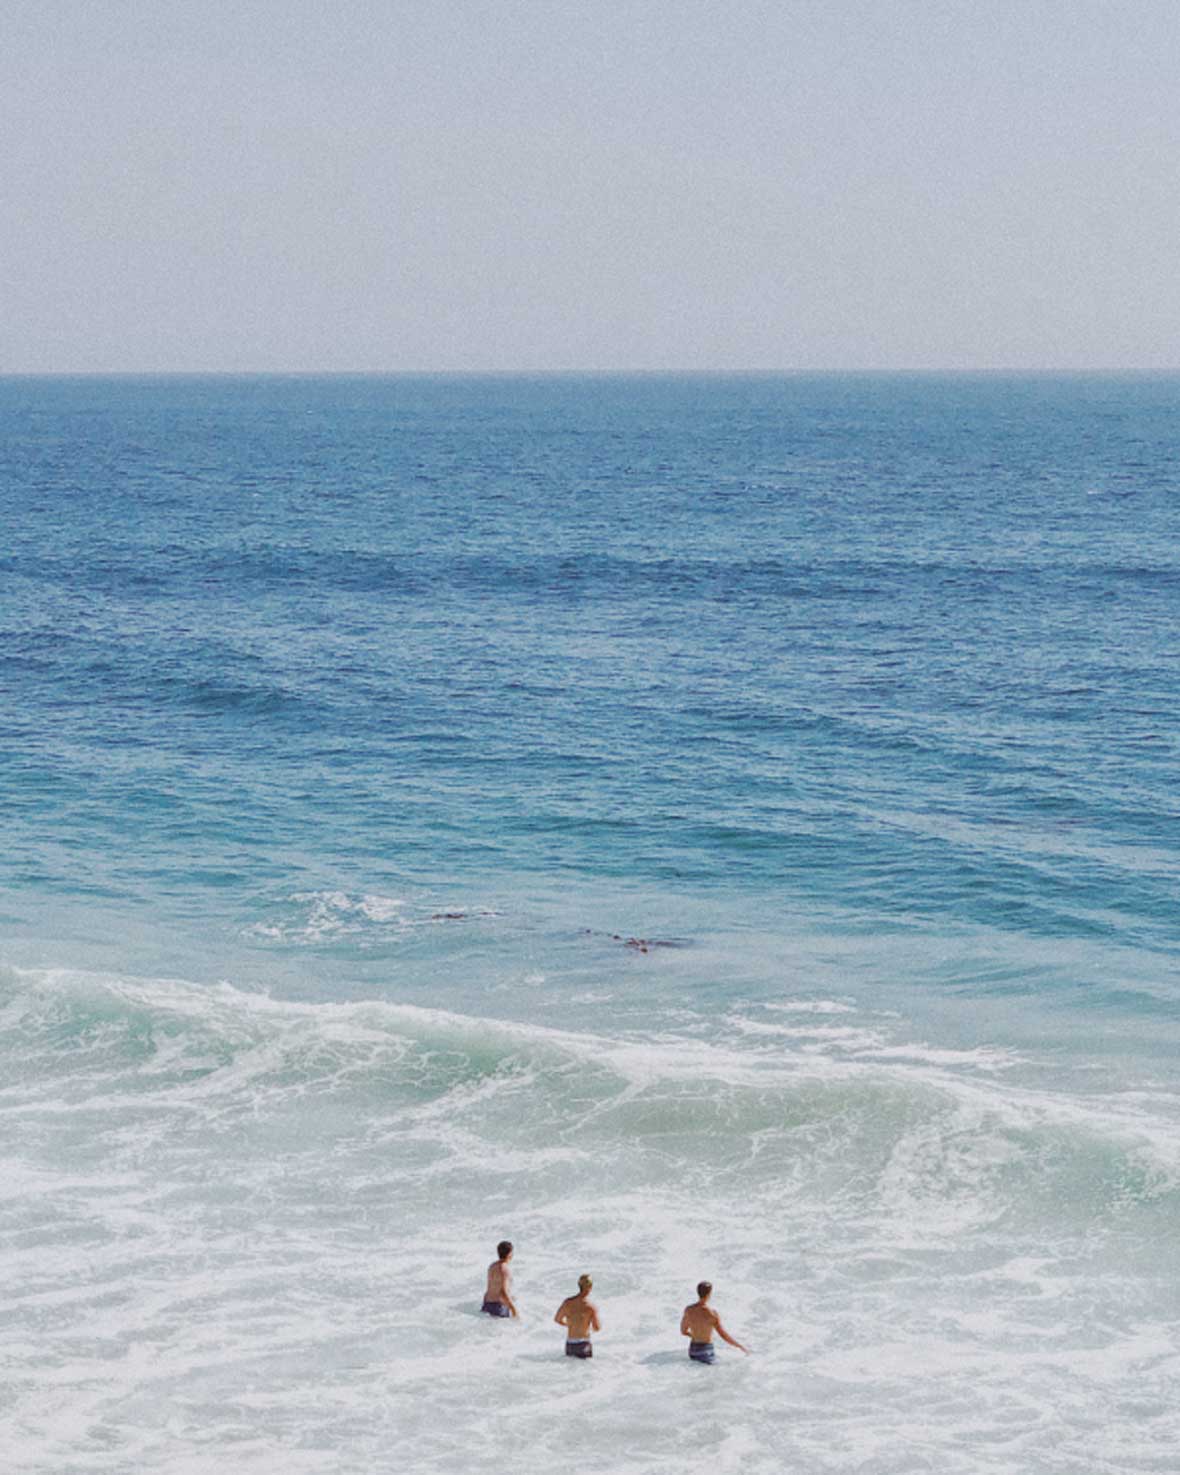
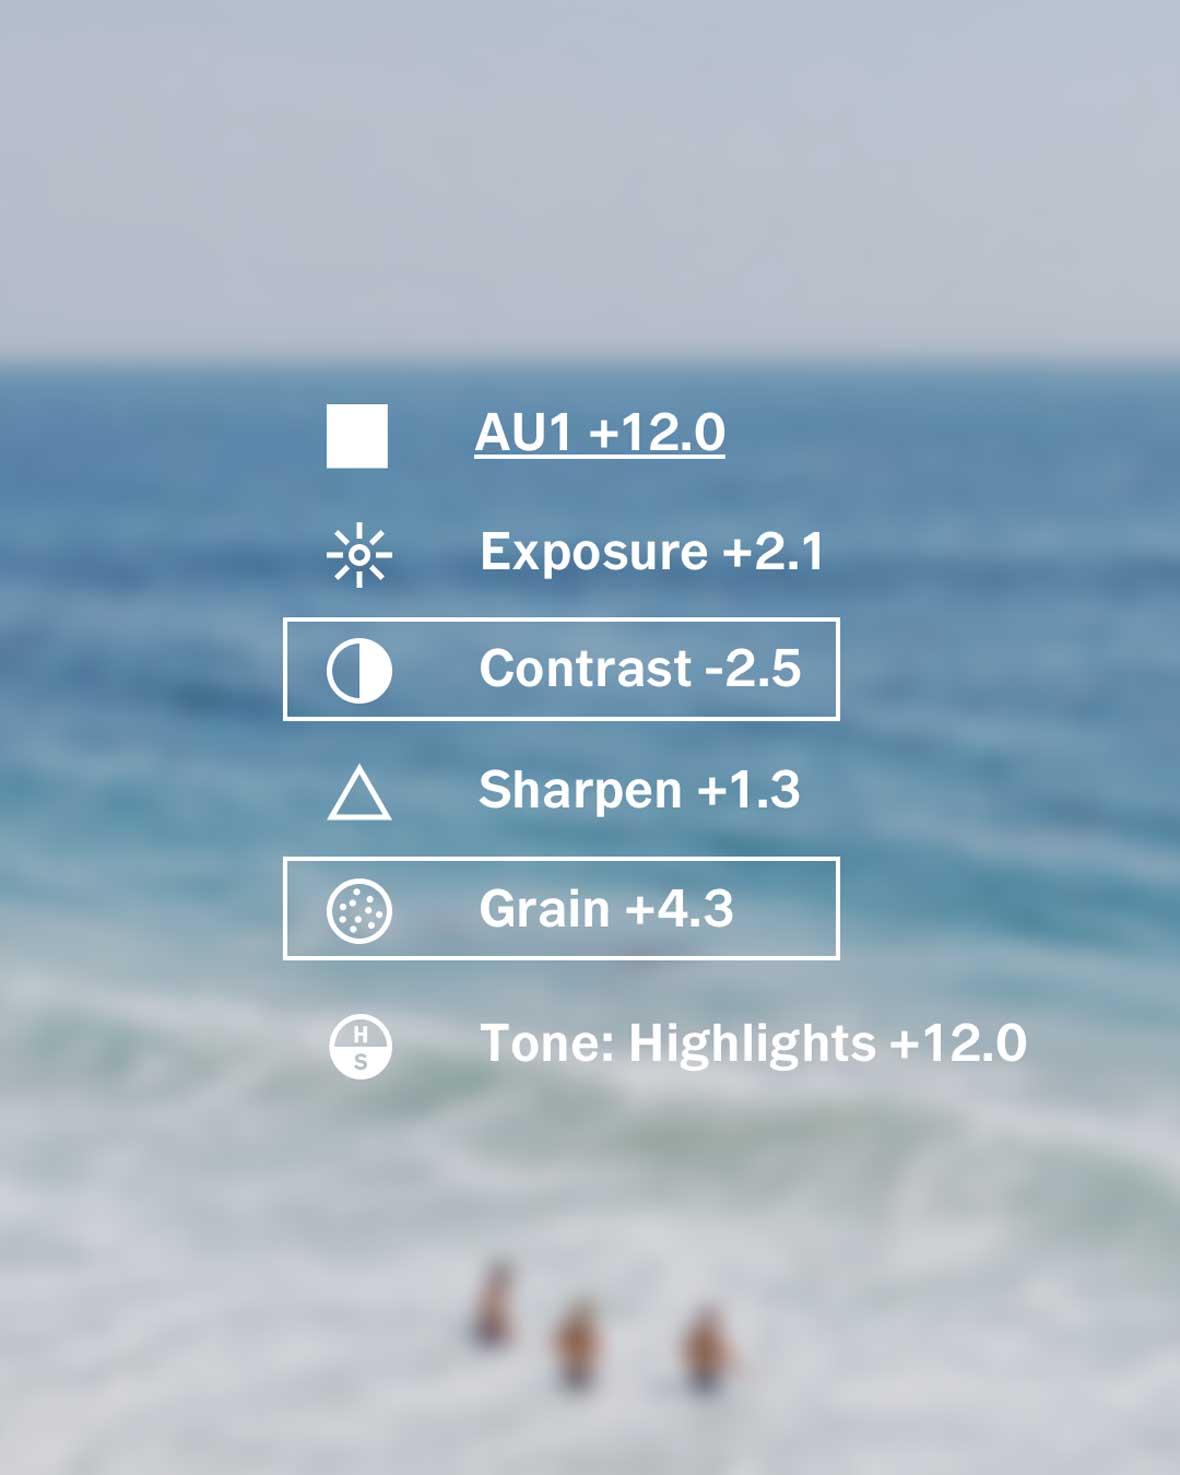
First, make the initial edits to the photograph and its color. Focus on making adjustments using the grain tool and the contrast tool. These two tools will help mimic the look of a movie shot on film. Try adding a bit of film grain to an image to give the feeling of movement and imperfection. Next, decrease the contrast to take out some of the vivid, bright color and give the photo a subtle look.
首先,针对照片本身和颜色进行编辑,专注使用调整颗粒和对比度的工具,这两种效果将赋予照片更多电影感。尝试在图像上添加一些模拟胶片的颗粒,以增加一点动态感和瑕疵的感觉。接下来,降低对比度,并把一些明亮鲜艳的颜色从画面中去除,让照片有更细致精巧的呈现。
∨∨∨
Edit with Crop & Borders / 裁剪边框和调整比例
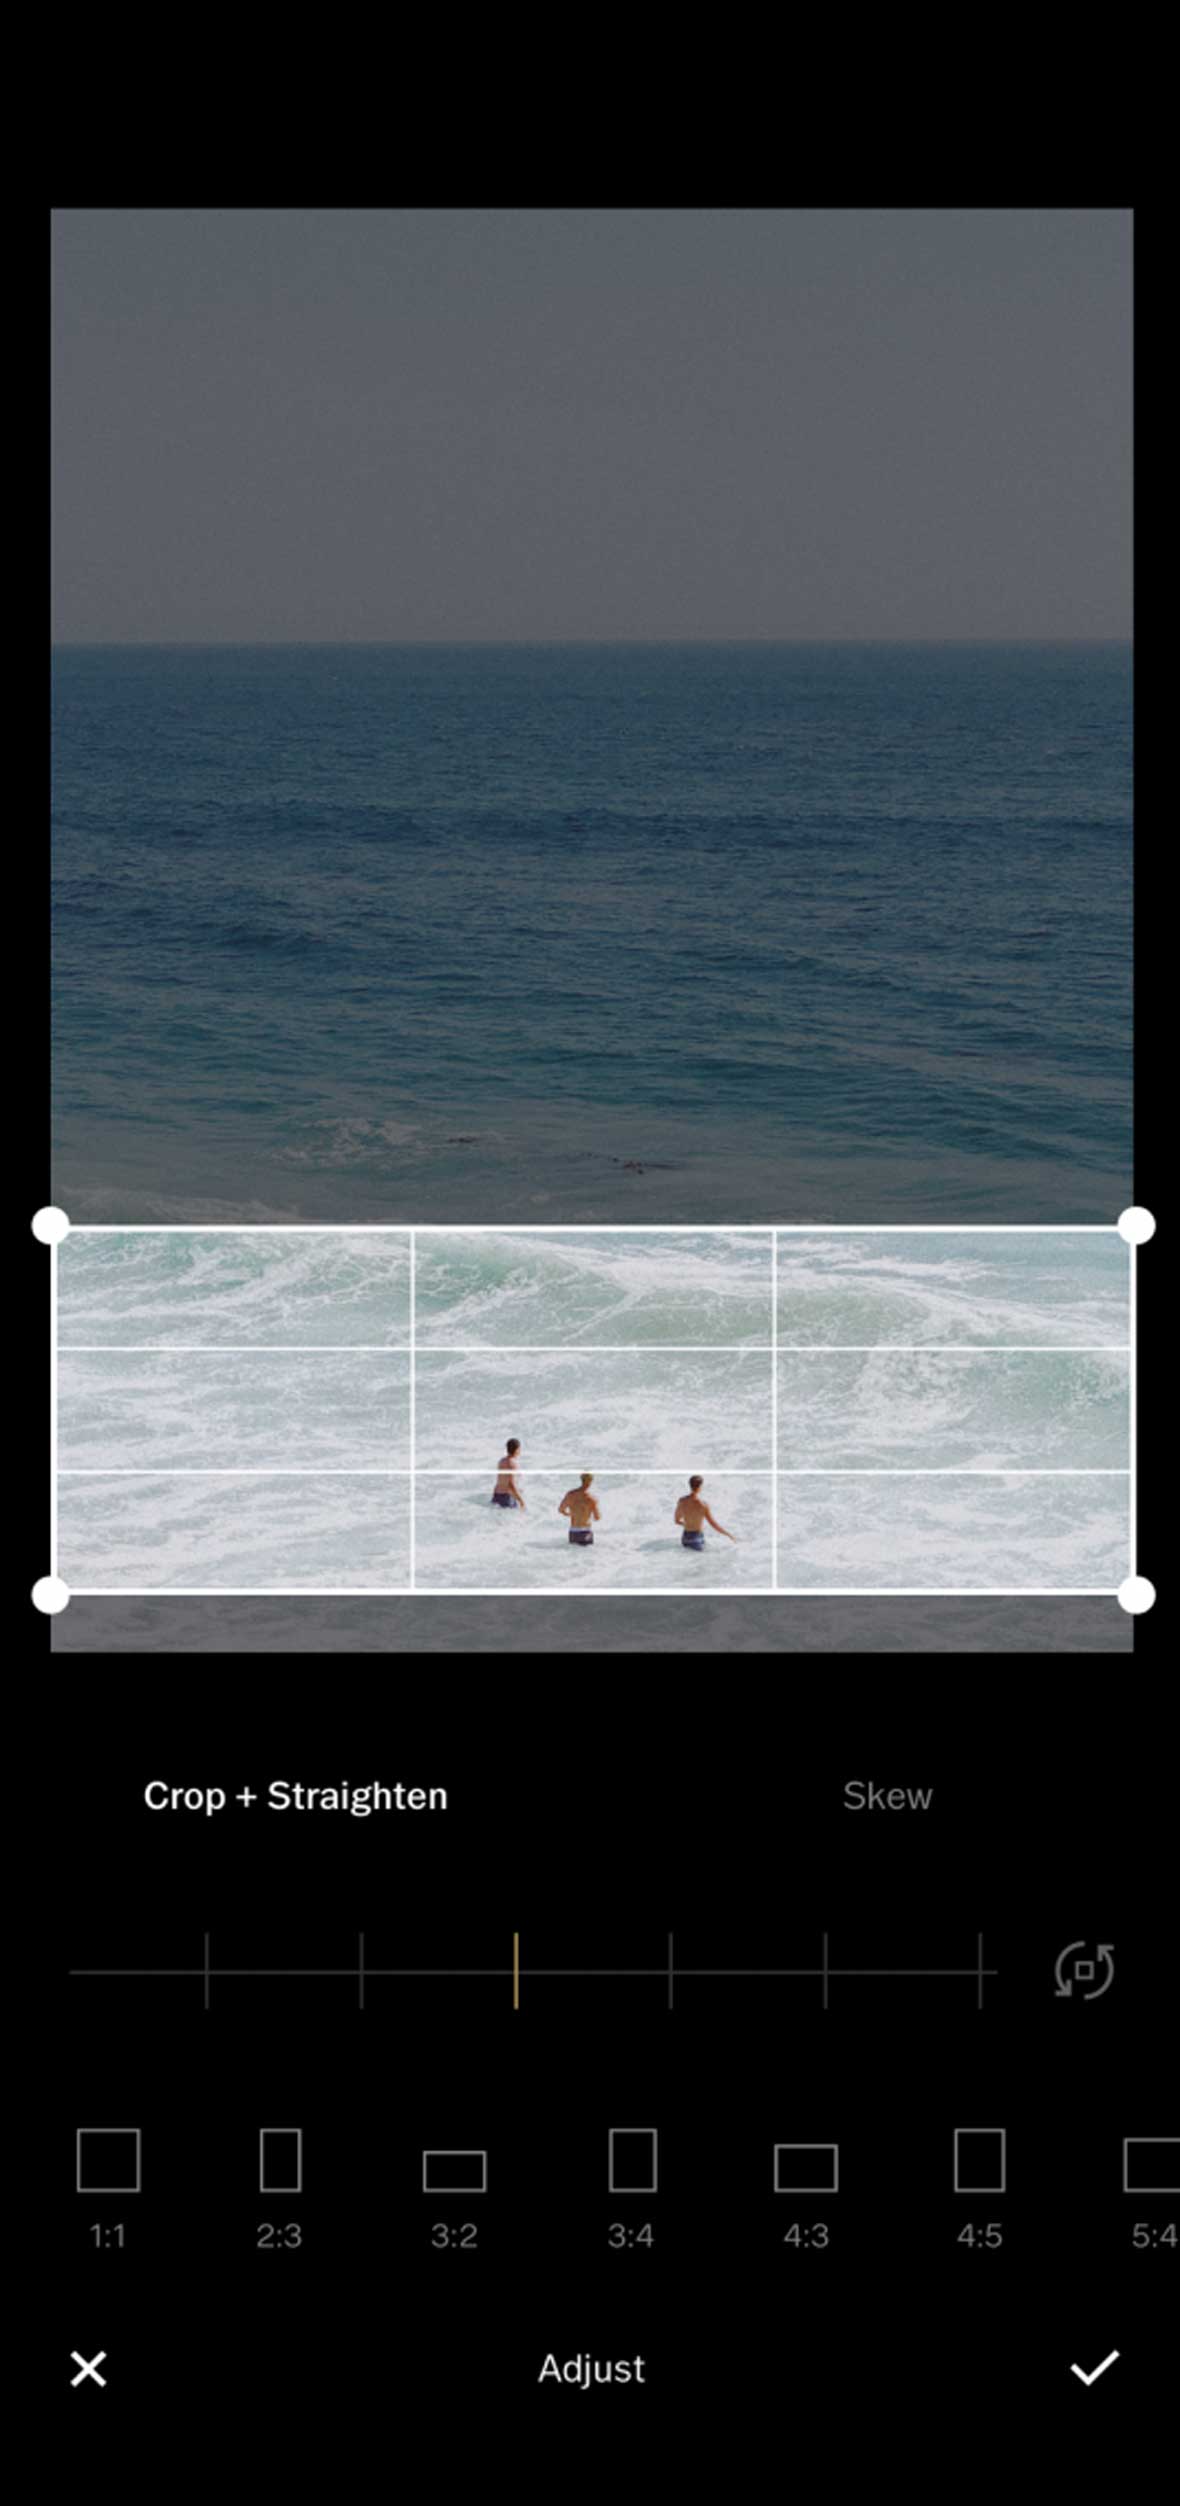
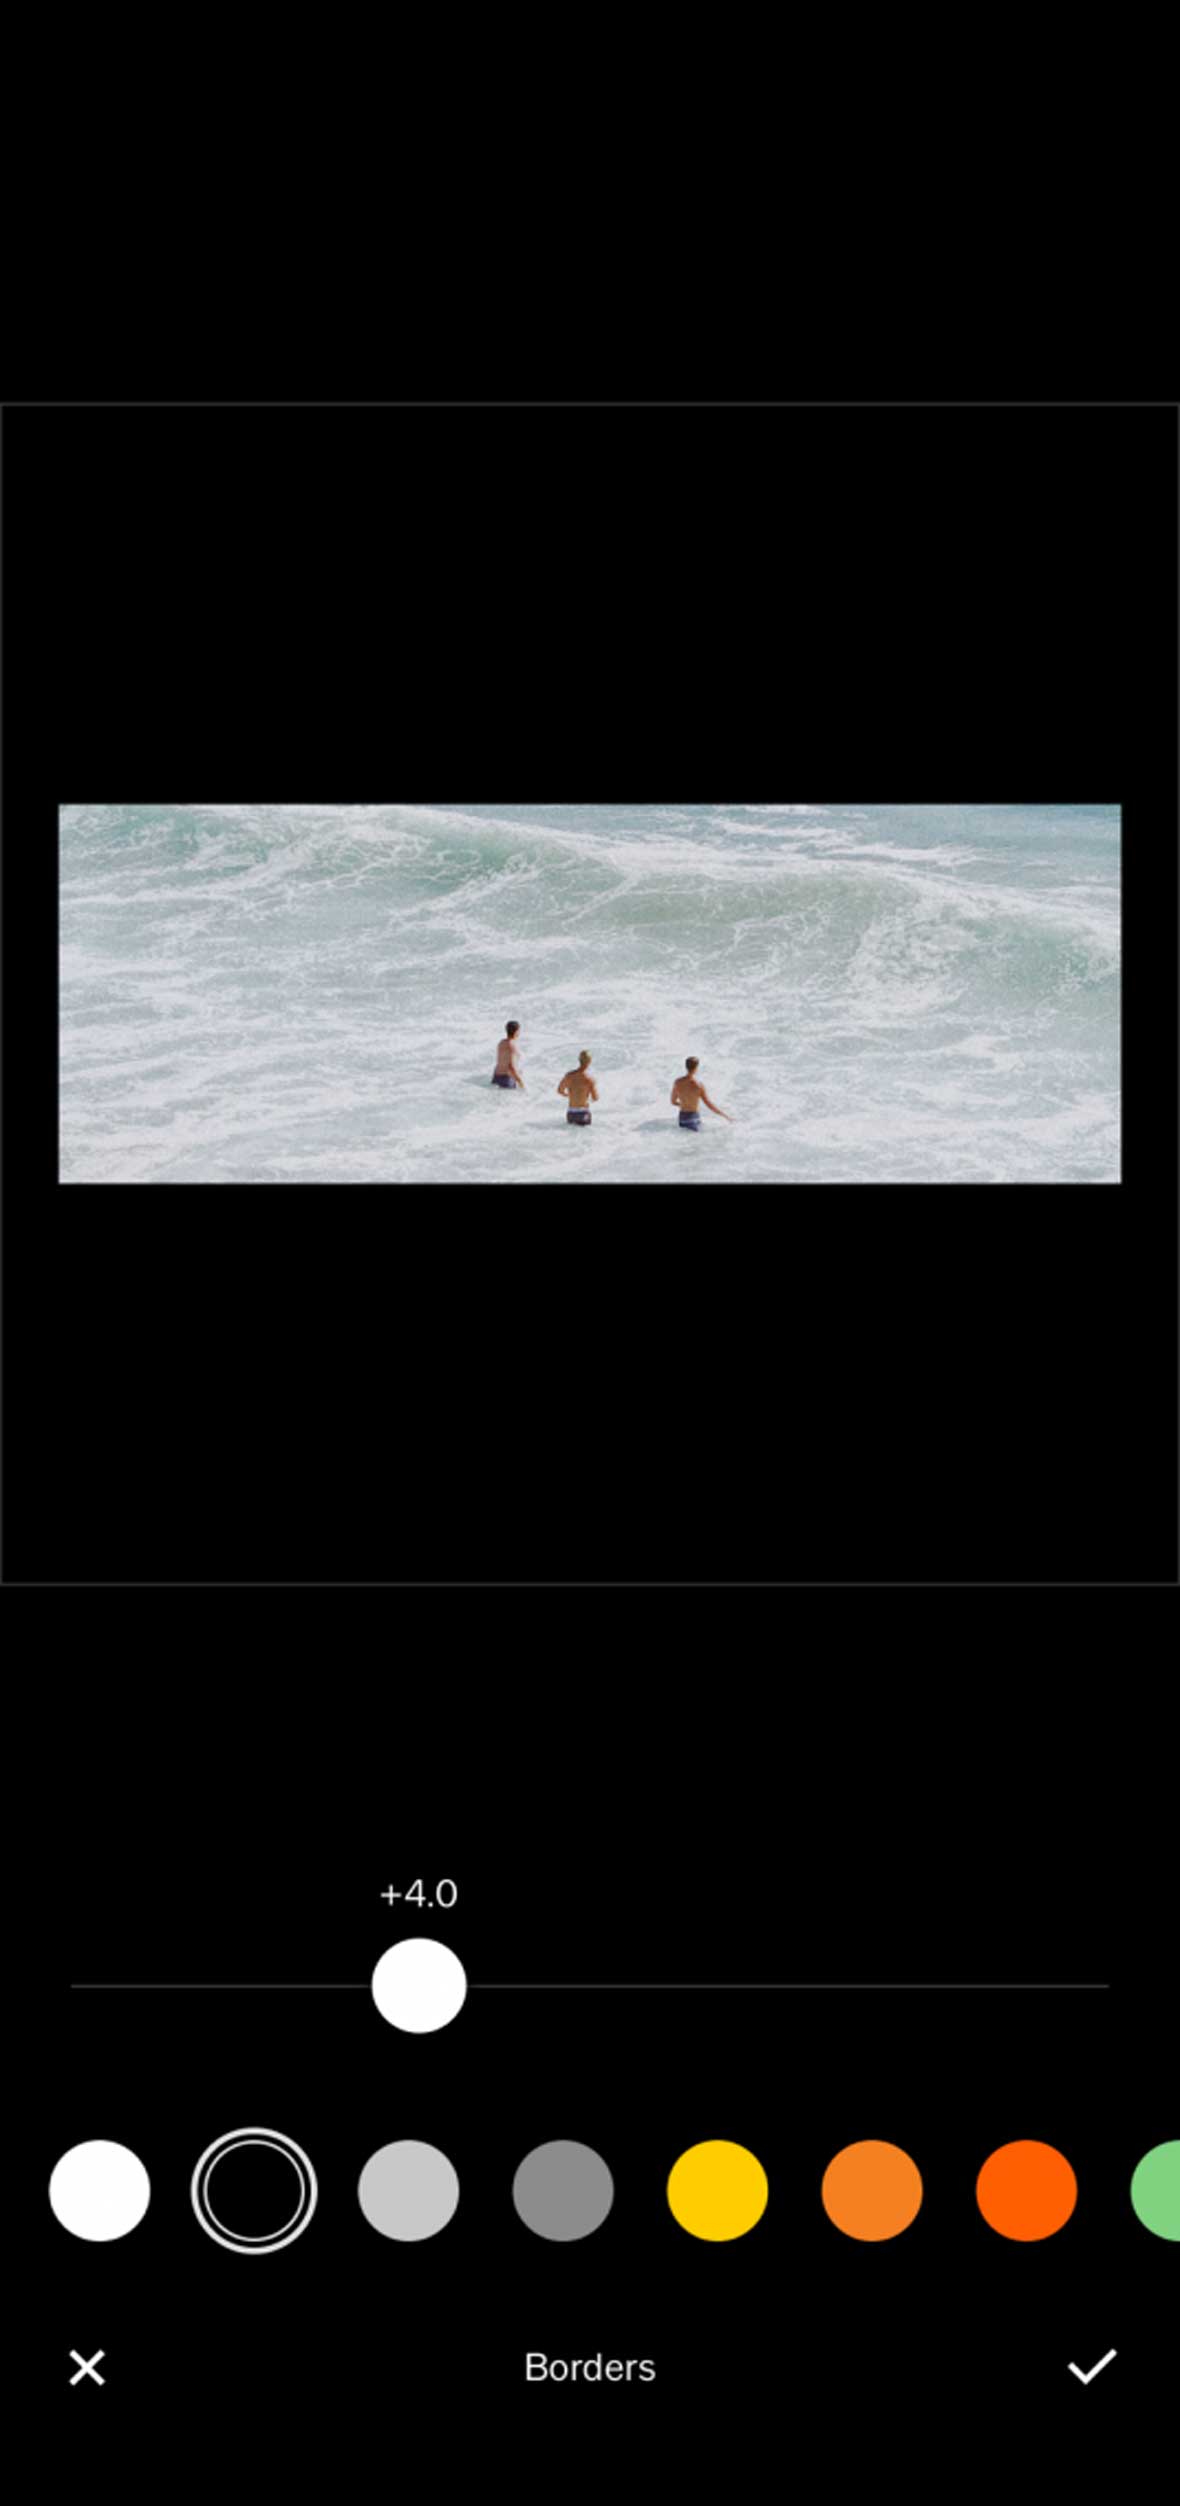
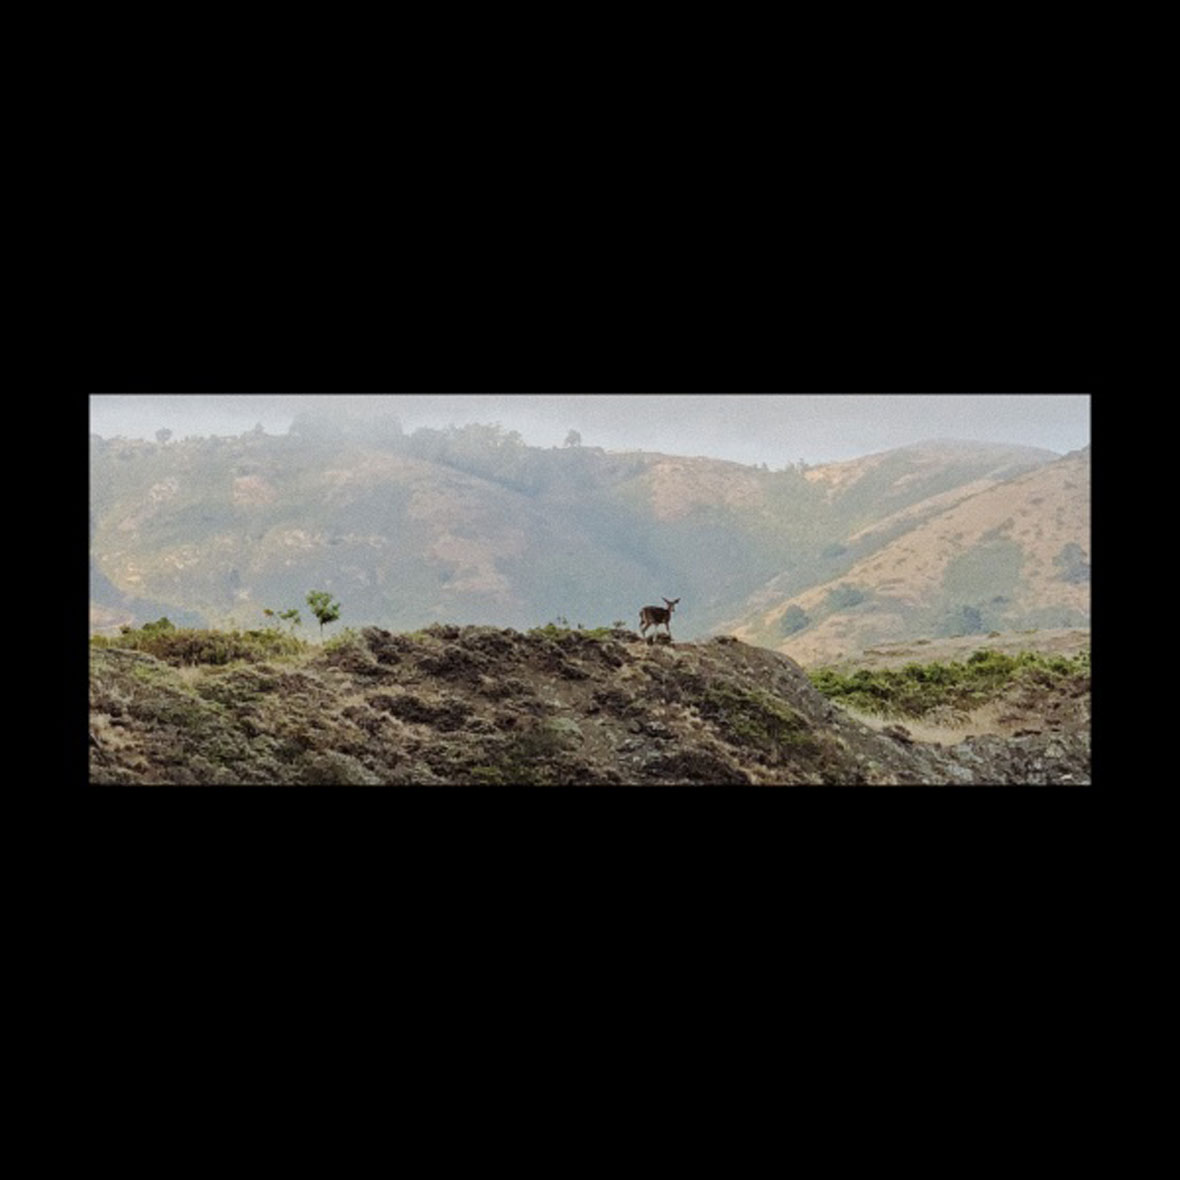
After making the initial edits to the color of an image we will look at how Crop and Borders can create a cinematic scene. Movies have a distinct wide aspect ratio, the most notable being 2.35:1. This distinct look came from the invention of the CinemaScope anamorphic lens, which was created in the 50s and resulted in a new dimension for experiencing a movie. To mimic this look, we will use the Crop tool to change the dimensions of an image. Experiment with different aspect ratio’s and sizes and find one that fits your image best. Finally, add a black border to frame your newly transformed picture.
在针对图像颜色进行初始编辑后,下一步就可以运用裁剪边框工具来调整比例,以创建更接近电影画面的场景。电影有一定的宽高比,最常见的是 2.35:1。这种独特的比例来自 CinemaScope 变形镜头的发明,该镜头于50年代问世,为电影体验带来了全新的维度。为了模仿这种比例,请使用裁剪工具来更改图像的尺寸。尝试不同的宽高比和尺寸,找到最适合你的一个。最后,帮你的照片加上一组黑色的边框吧。
∨∨∨

Experiment with these editing technique on different scenes for varied effects.
在不同的场景中,尝试这些编辑工具以获得不同效果。
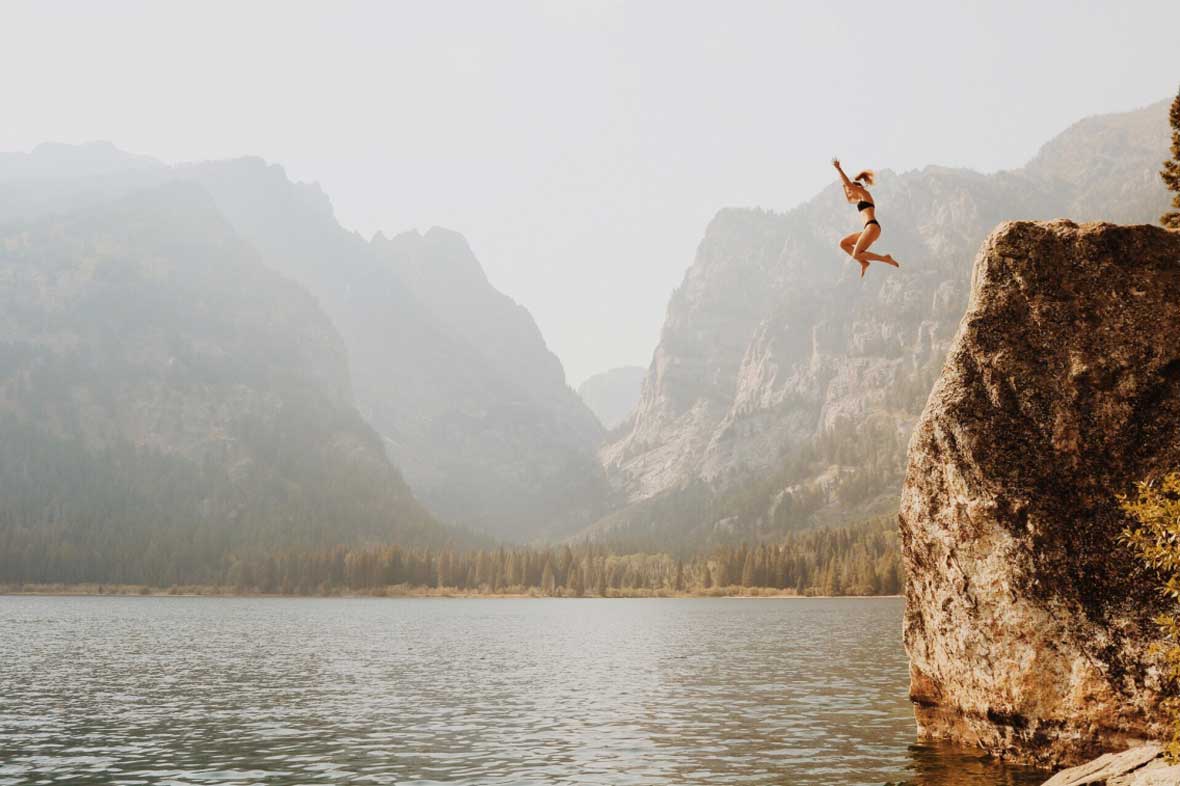
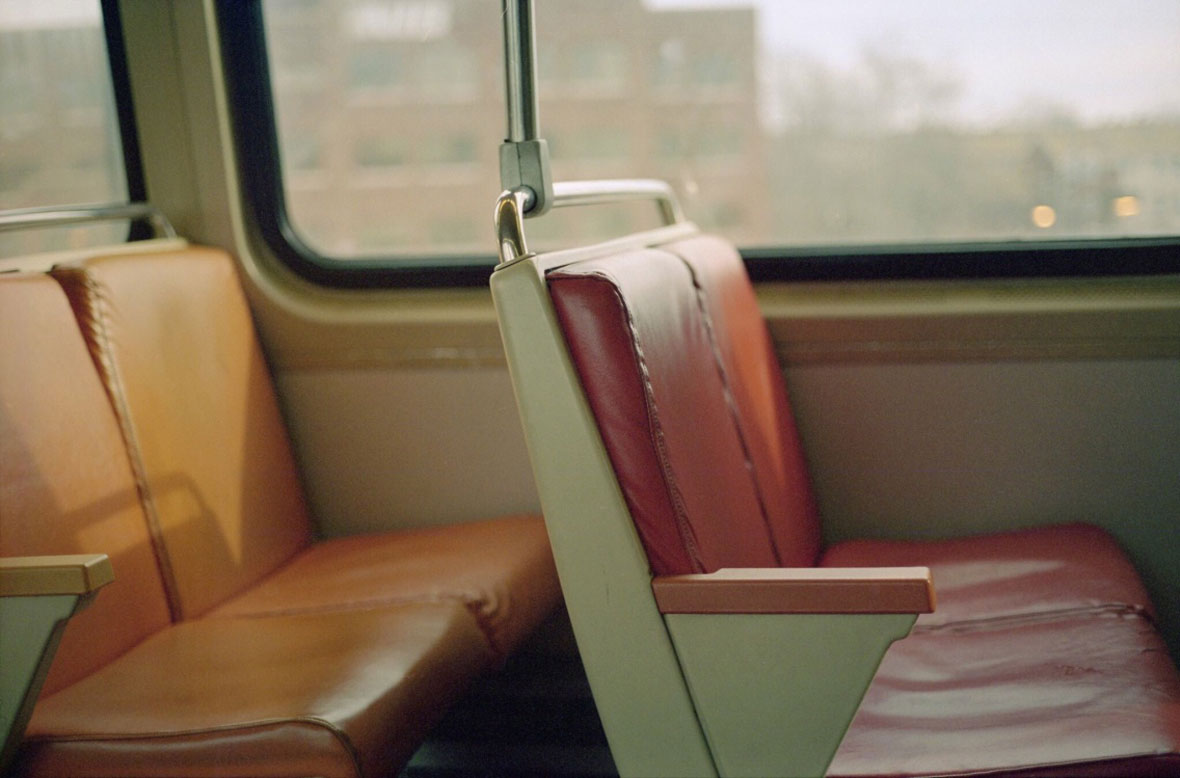
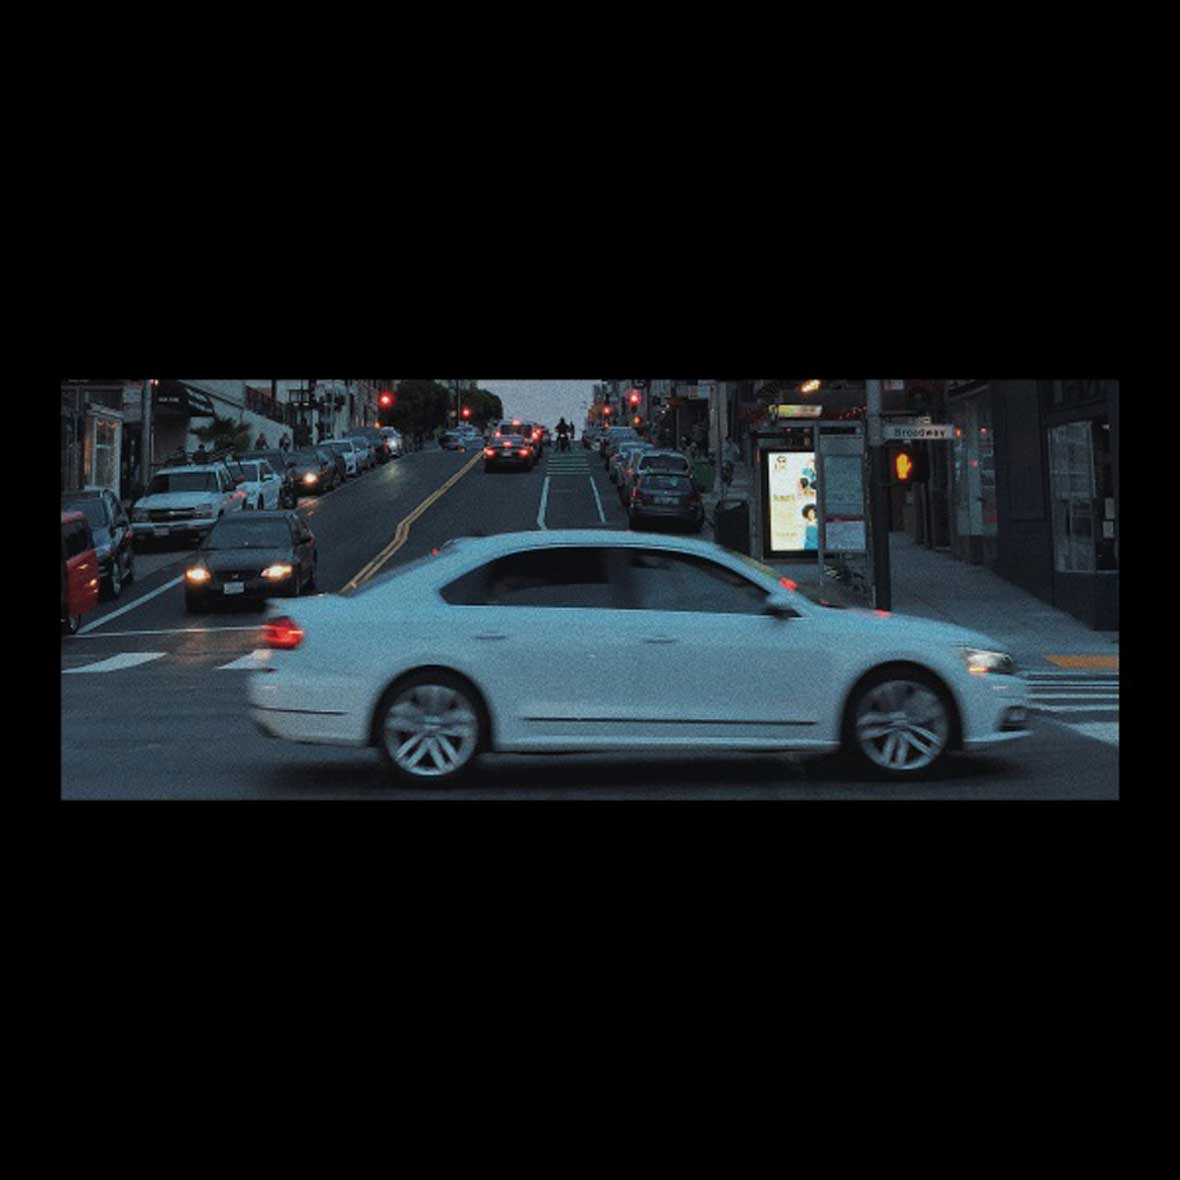
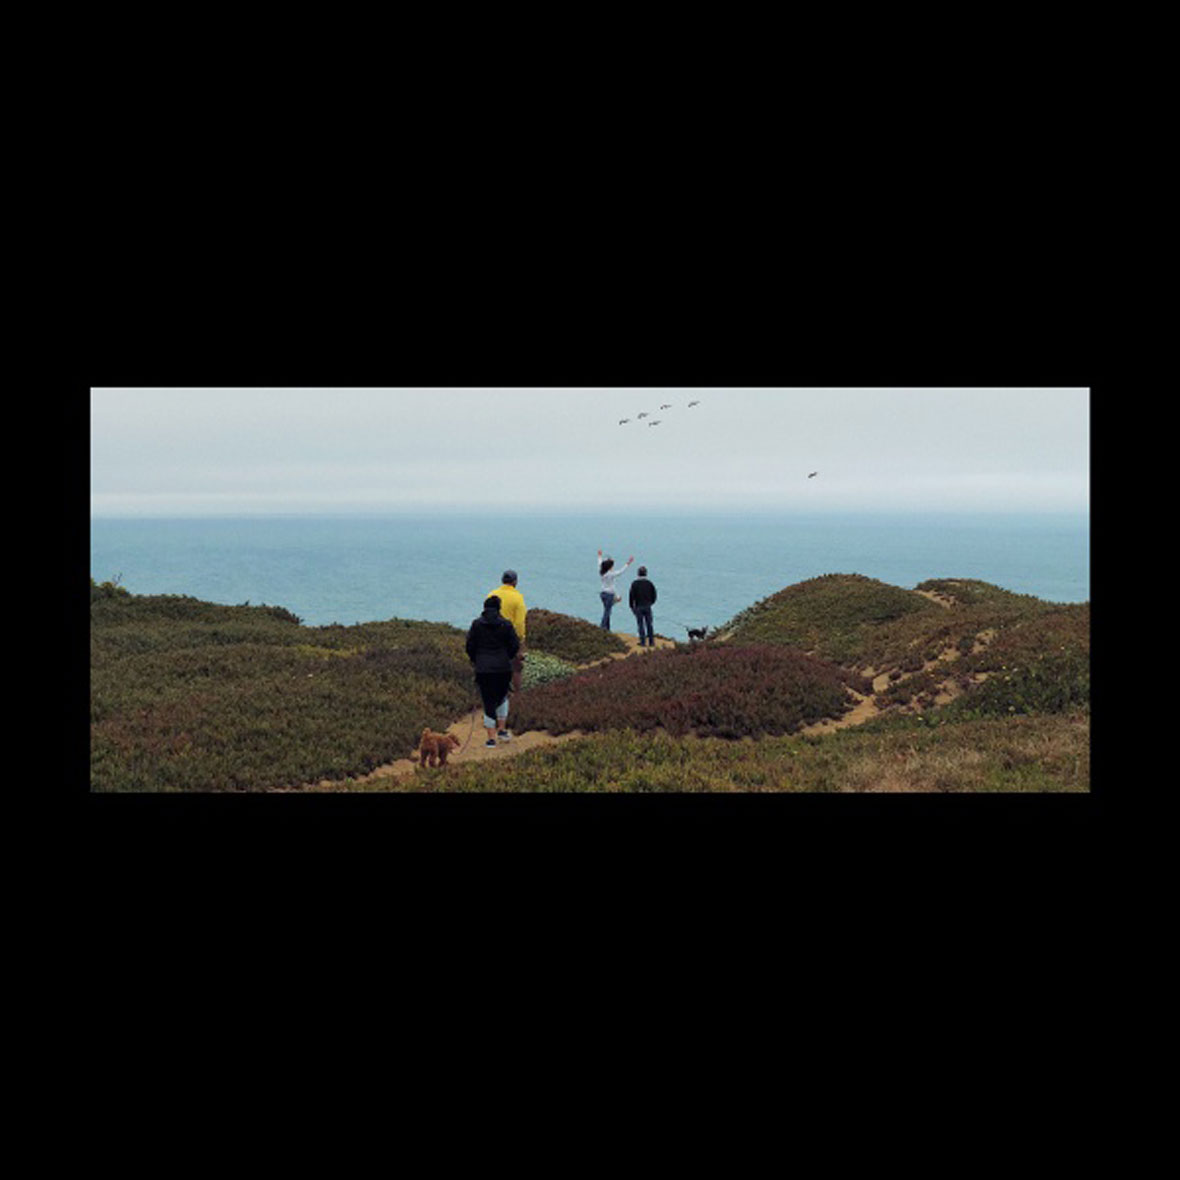
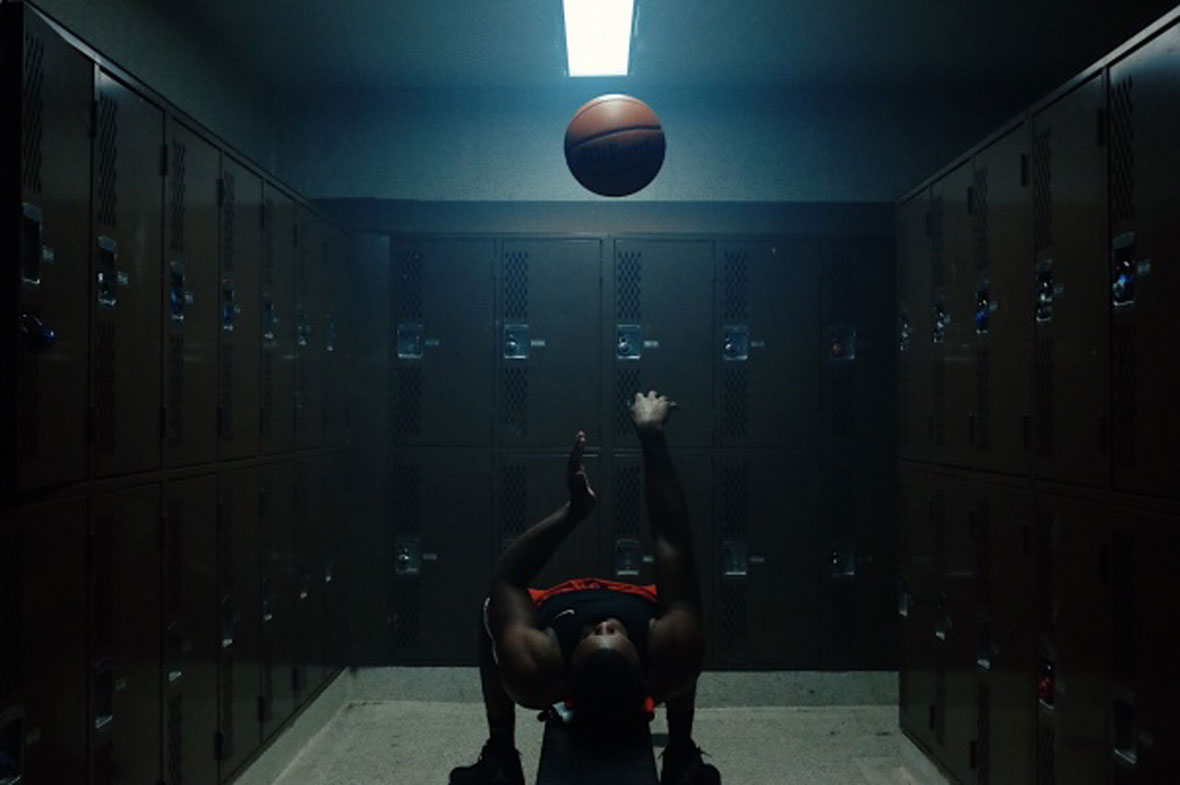
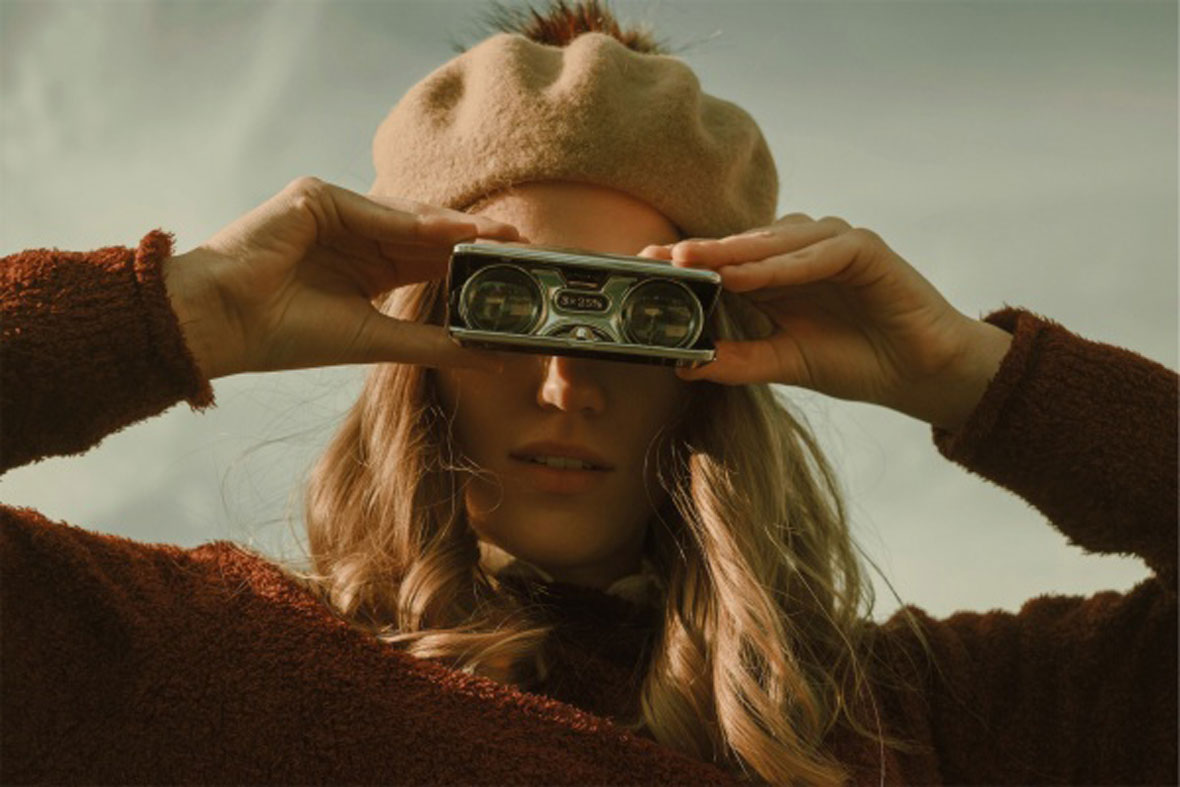
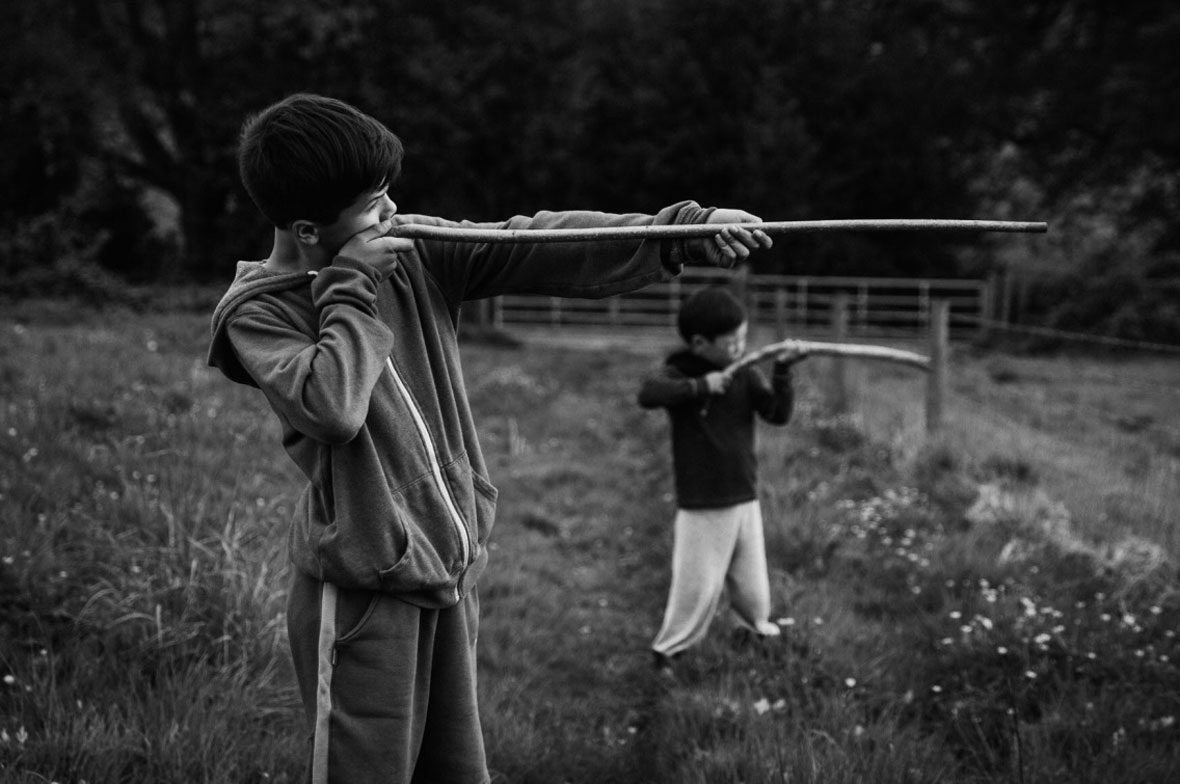
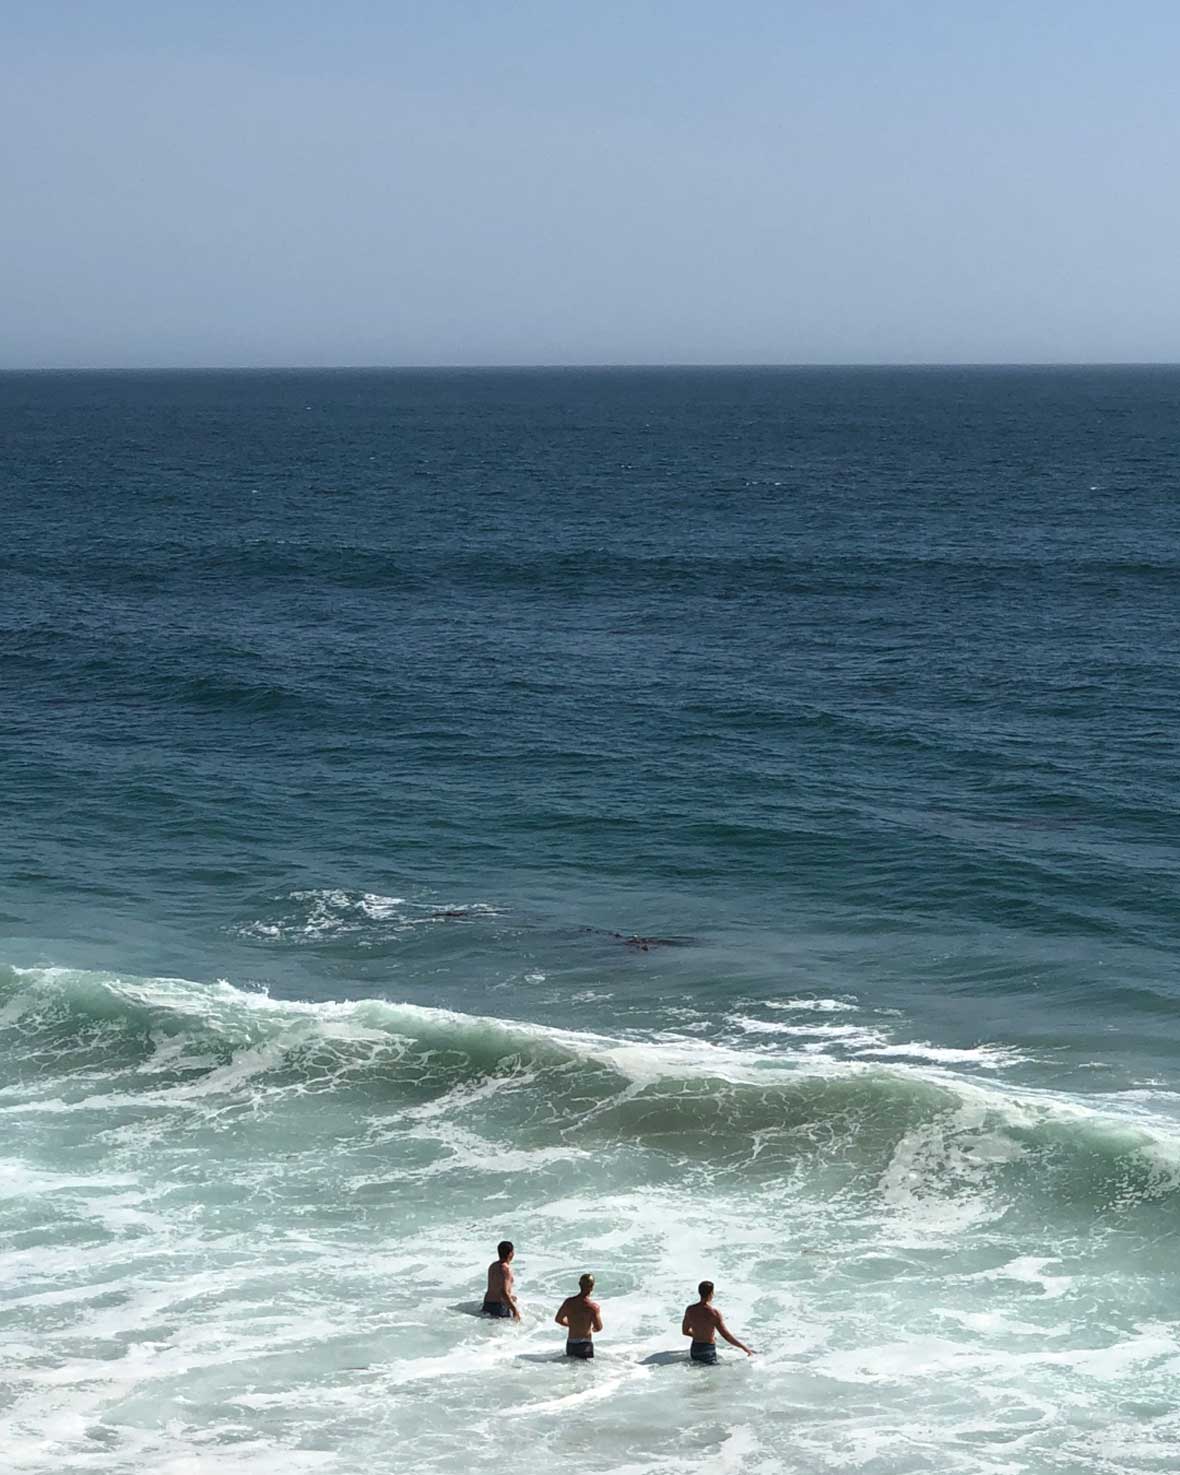
A shallow depth of field, an adventurous moment, or a beautiful scene all contain the magic of a cinematic moment. Find inspiration from these images from the community and next time you are out photographing try and look for those fleeting moments.
浅景深、冒险的时刻、或是一个美丽的场景都蕴含电影的魅力。从周边这些景色中寻找灵感,尝试在下次拍摄时捕捉这些稍纵即逝的瞬间。
